Required reading: day 1; day 3; day 6; day 7; day 8; day 9; day 11
On day 12 the sand was frozen, which meant it was time to begin flooding to build the ice. I arrived after the flooding began, and the difference was obvious thanks to the glossier surface. (I would have said the difference was clear, but that would have been an offense worthy of severe pun-ishment.)
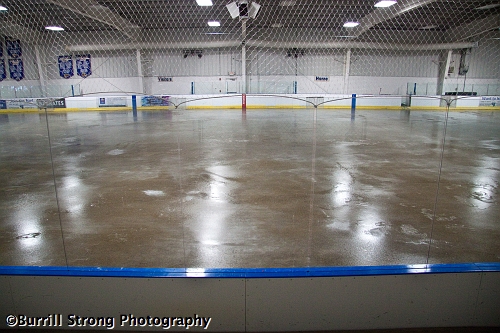
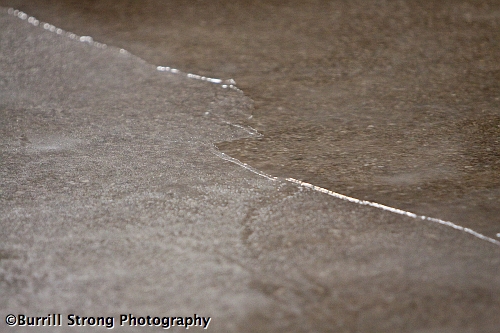
The gloss was provided by the first thin layer of ice on the frozen sand.
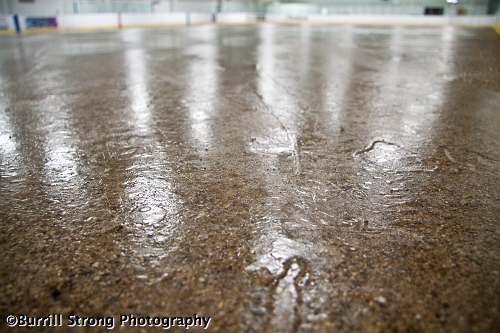
Like the rest of the replacement process, flooding was somewhat tedious and time-consuming; in order to build the ice gradually, the water is added with garden hoses, one thin layer at a time.
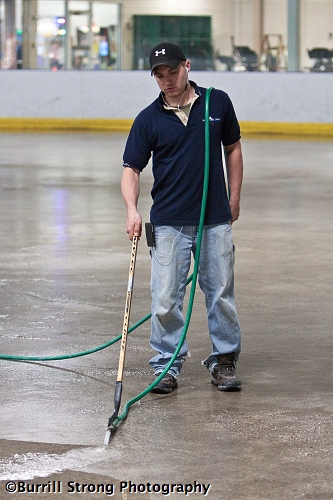
To minimize splashing, the hoses need to be kept close to the surface; since holding a hose at ground level for hours would be murder on the workers’ backs, they used a simple and wonderfully appropriate solution: they taped the hoses to hockey sticks.
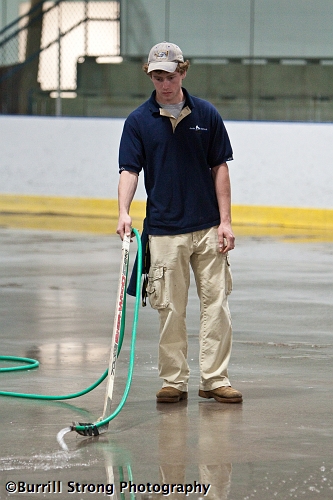
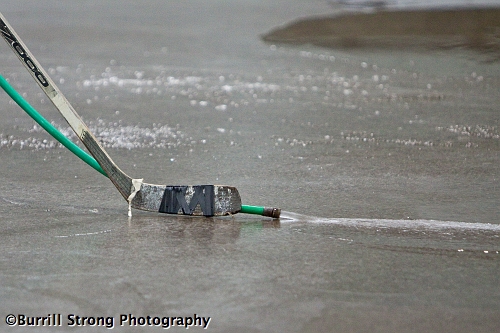
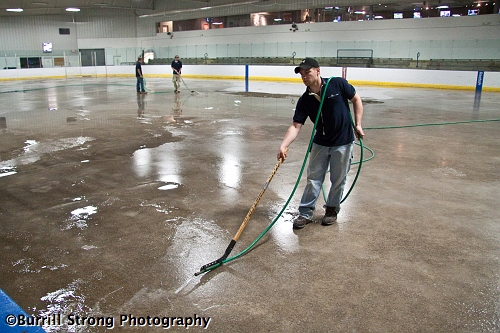
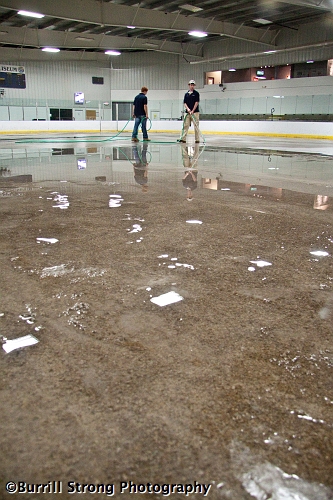
The flooding continued until there was a base of ice suitable for painting. And since I’m sure that’s what many of you really want to see, let me give you the good news: the next post — day 13 — will feature eight and a half hours’ worth of photos of the process of painting the ice.

Have you asked the people doing all this how this compares to, say, the process at Yost or Joe Louis? The fundamentals are probably the same, but I’m just curious if they have fancy hose-boots or something for this step, or the equivalent for the other steps.
Ah, the versatility of hockey sticks!