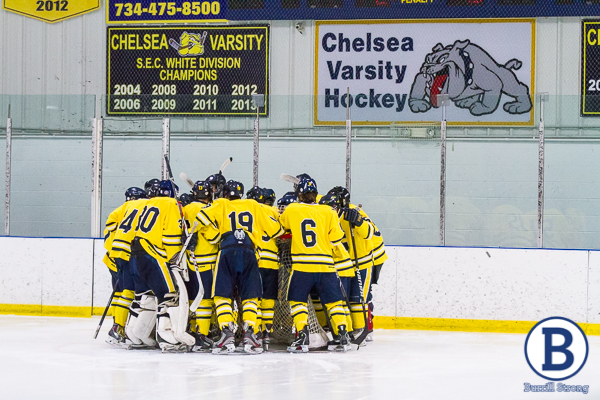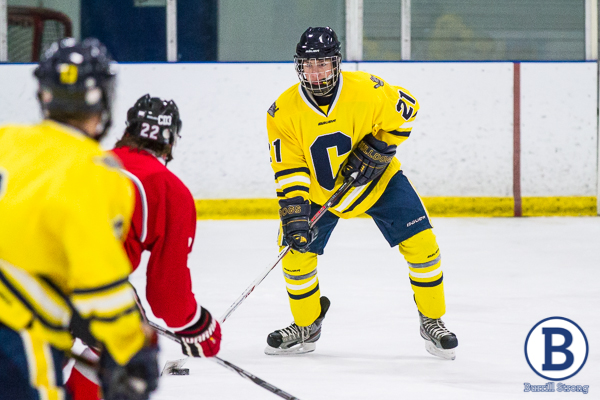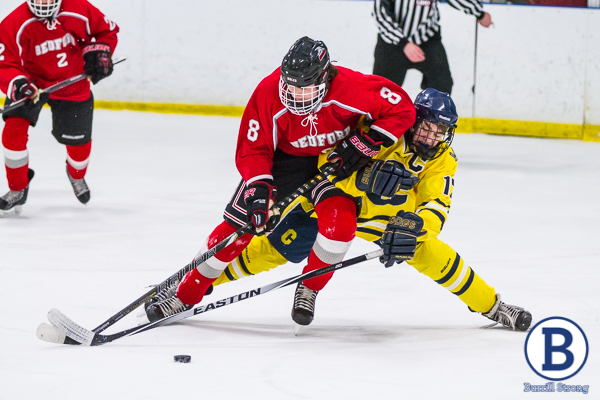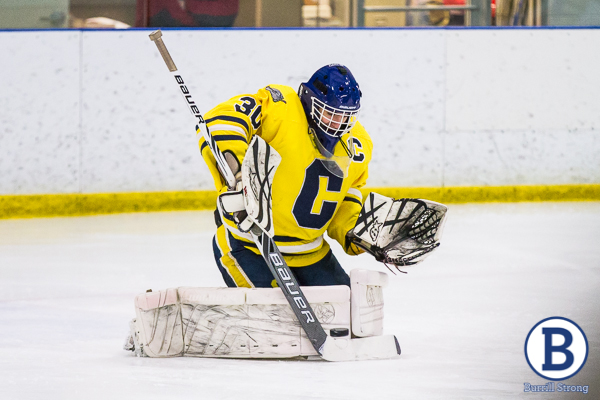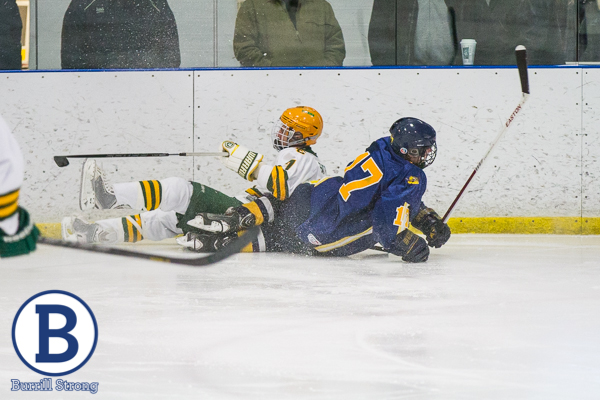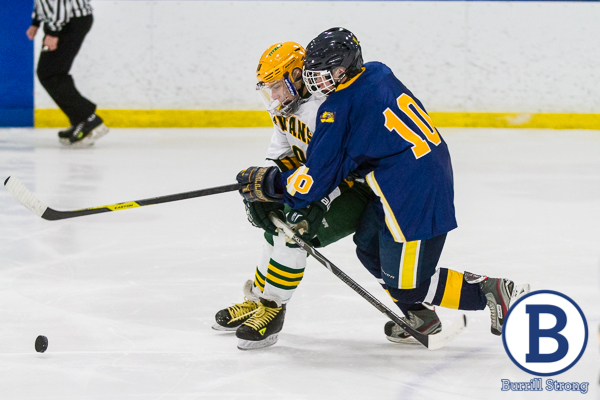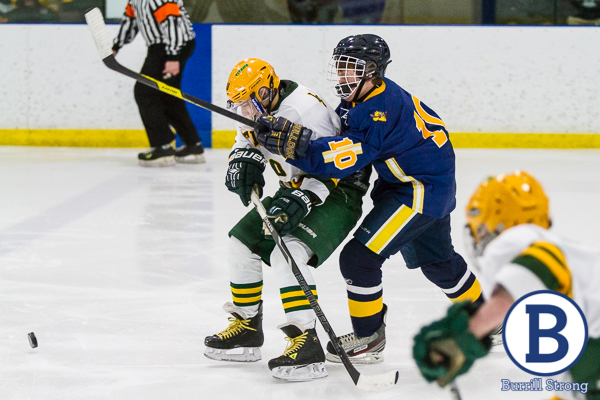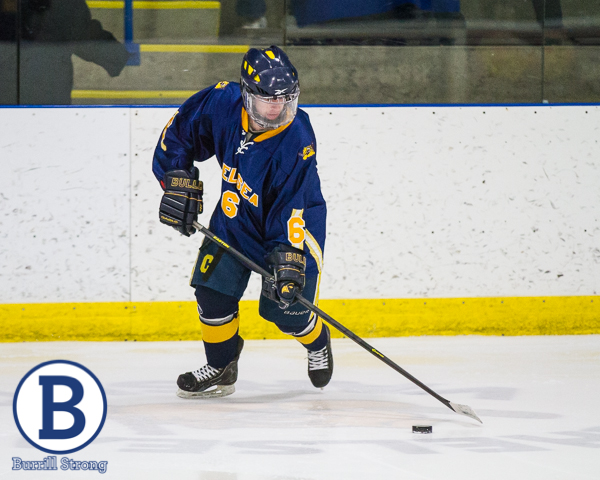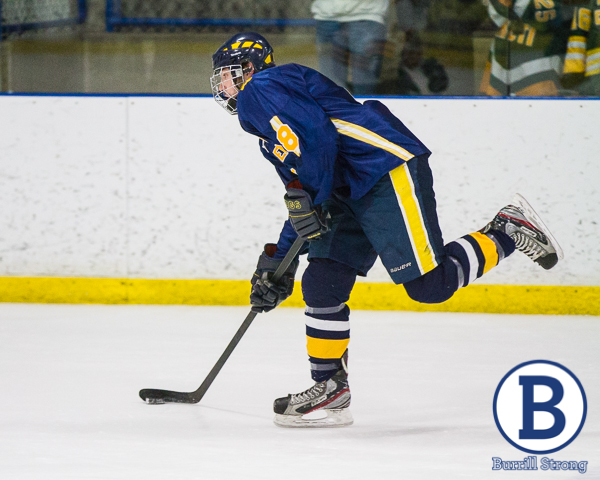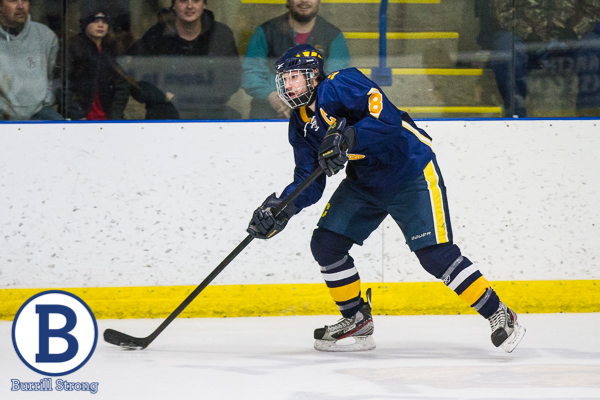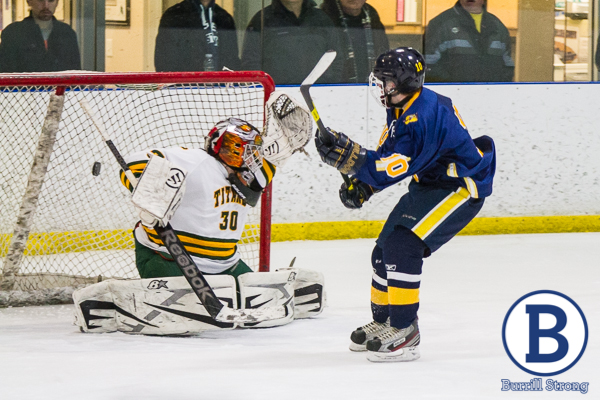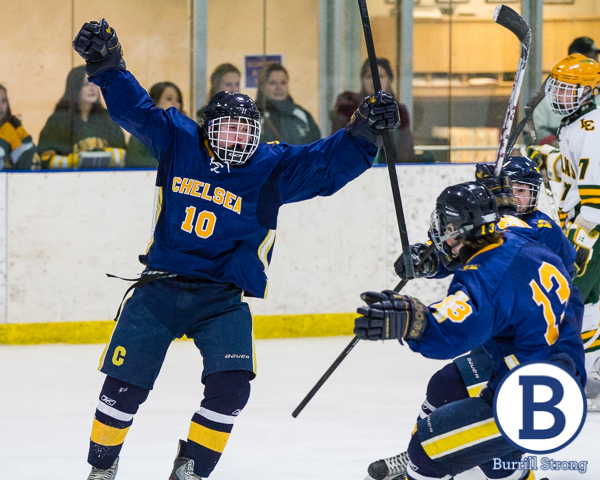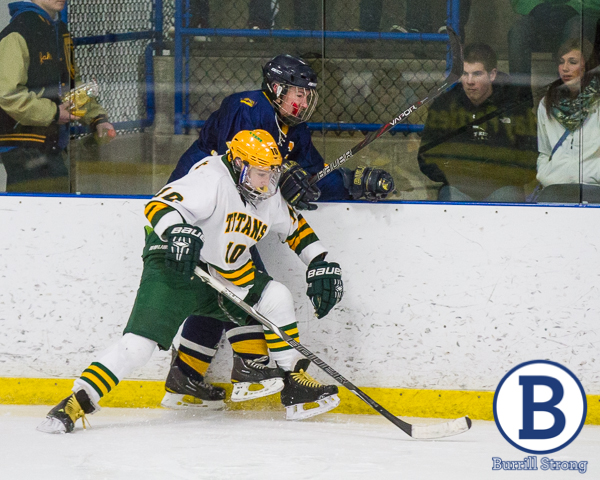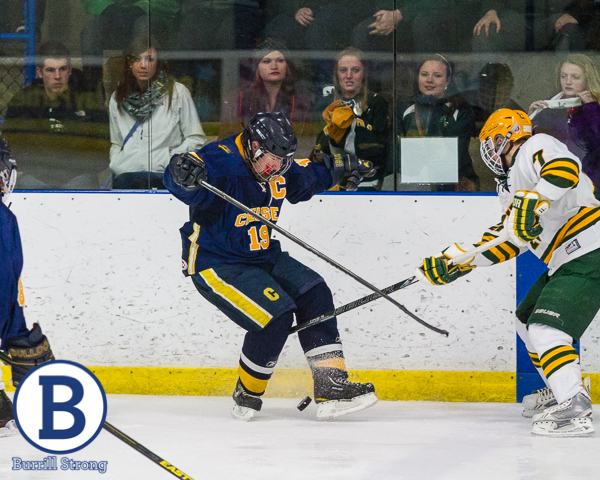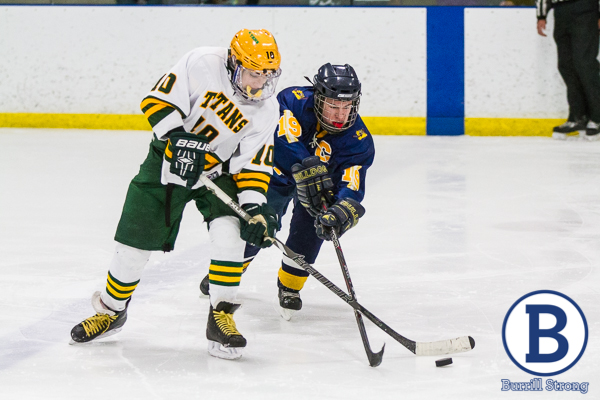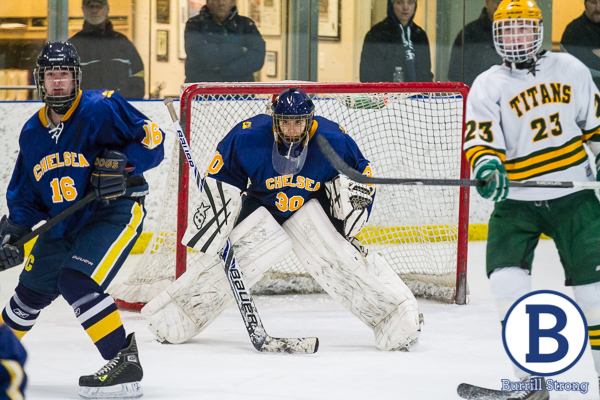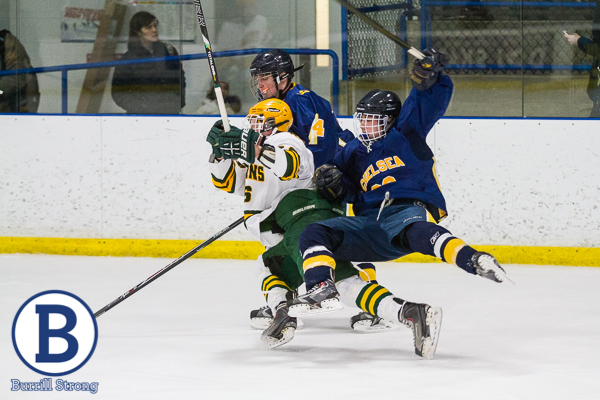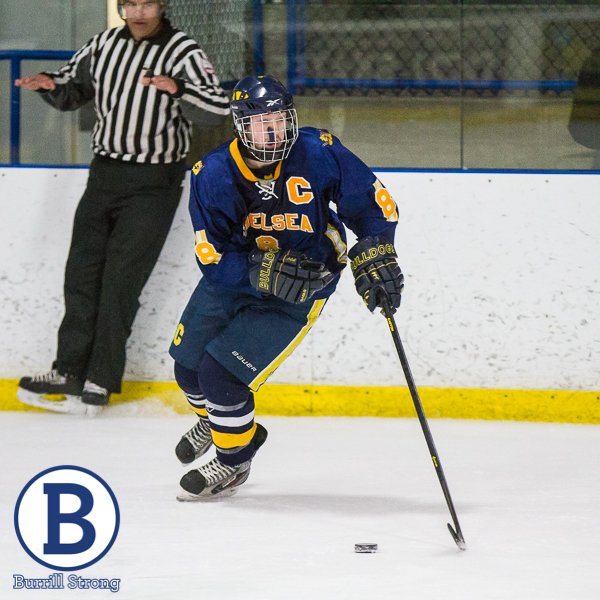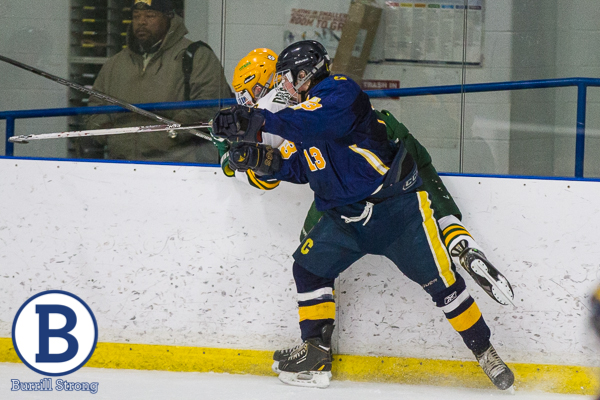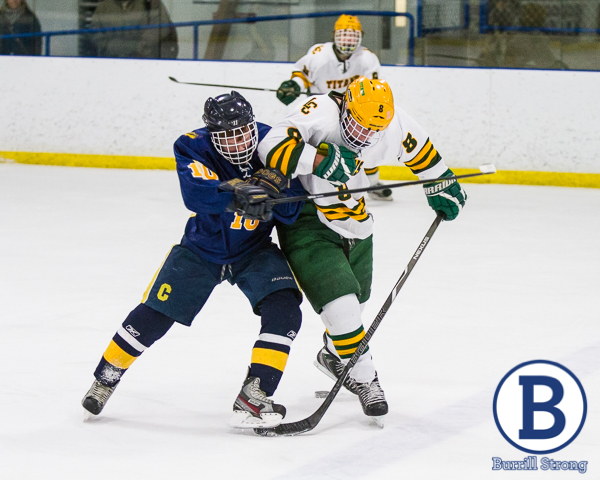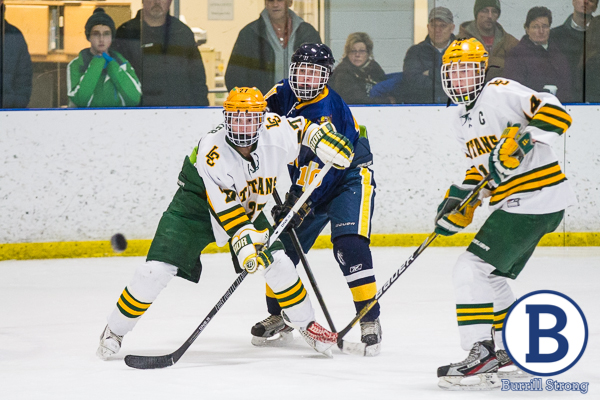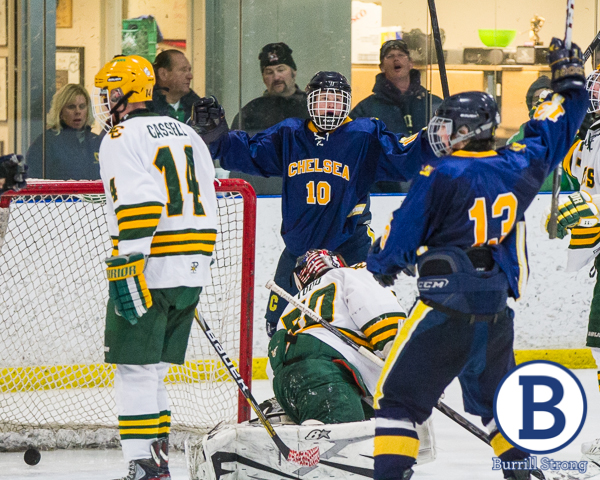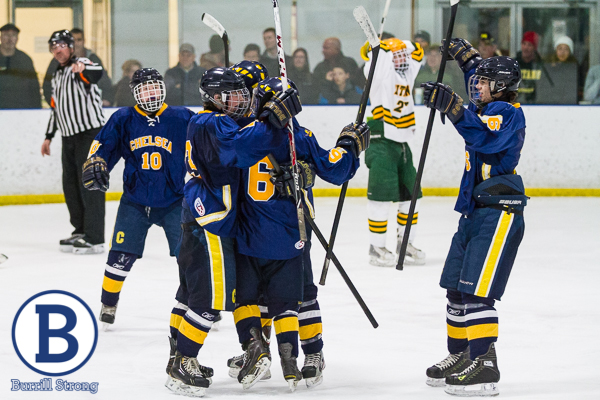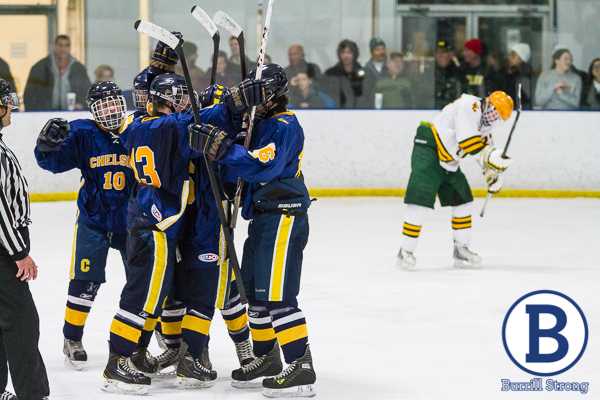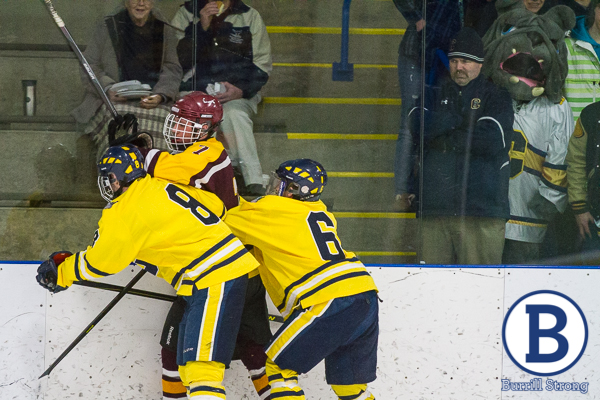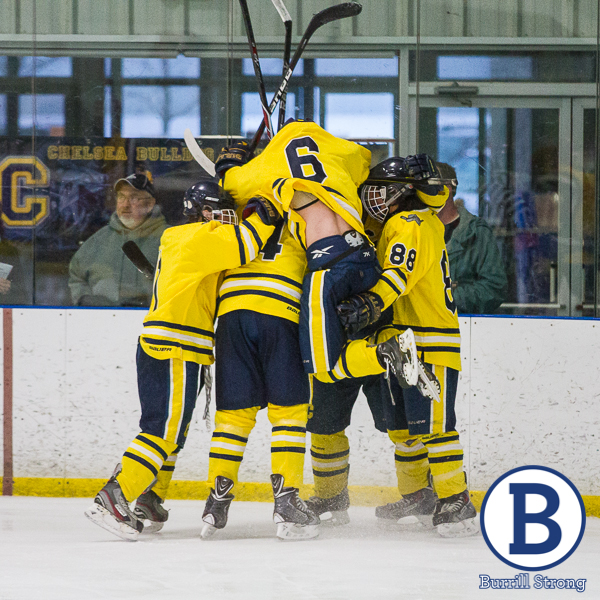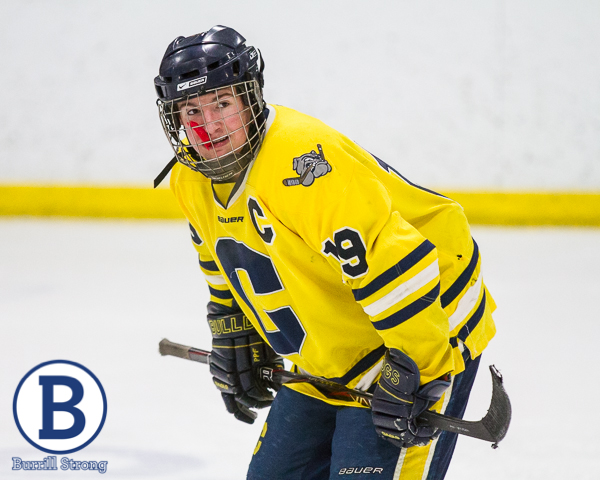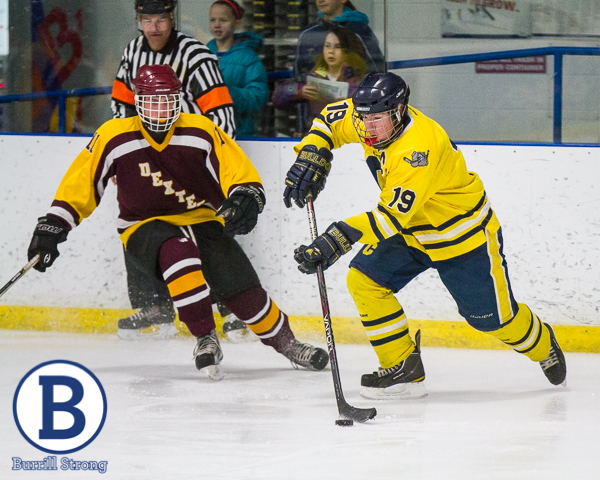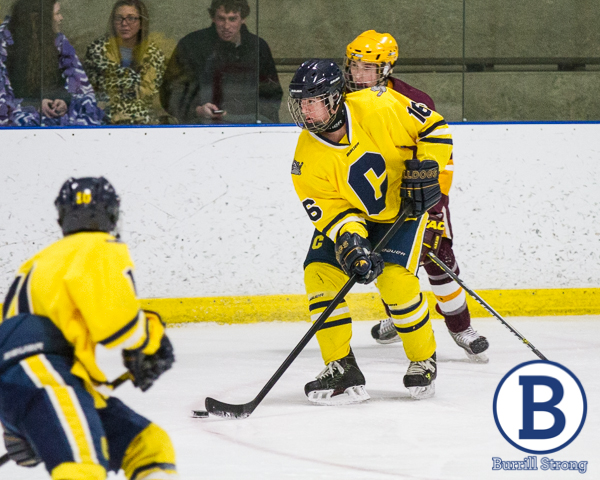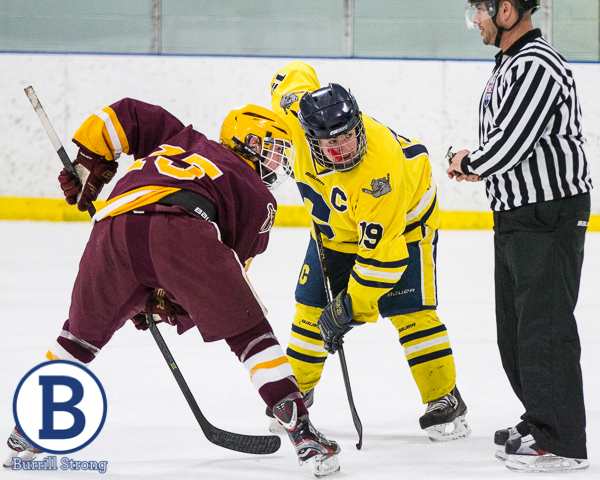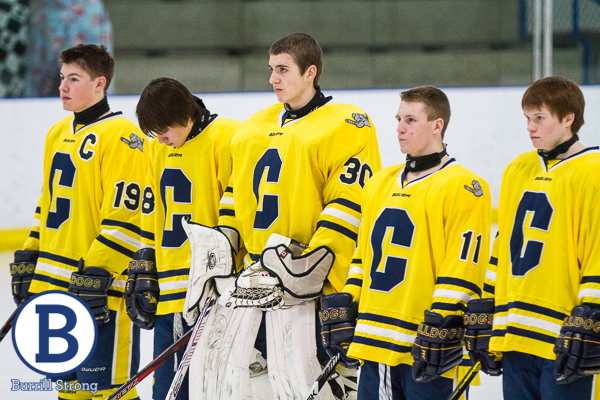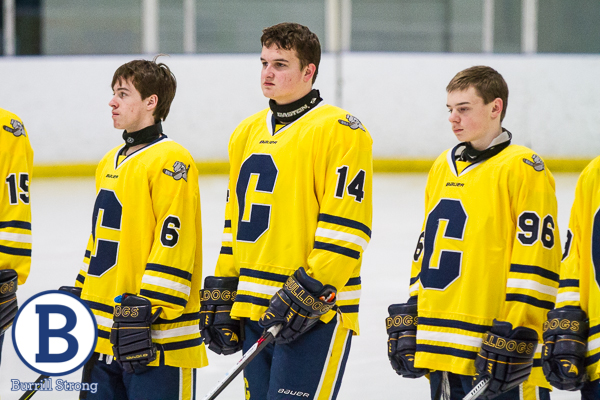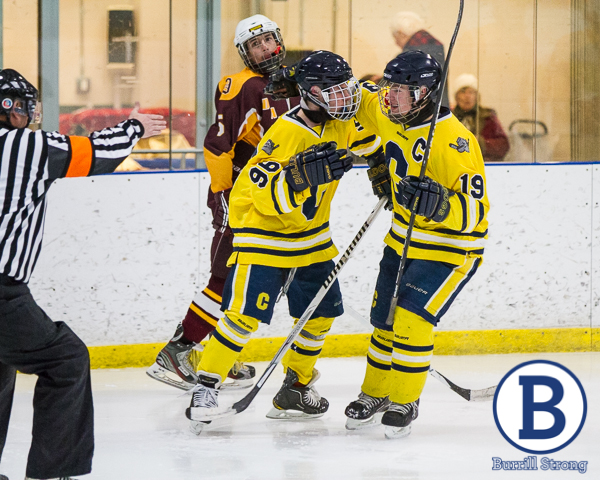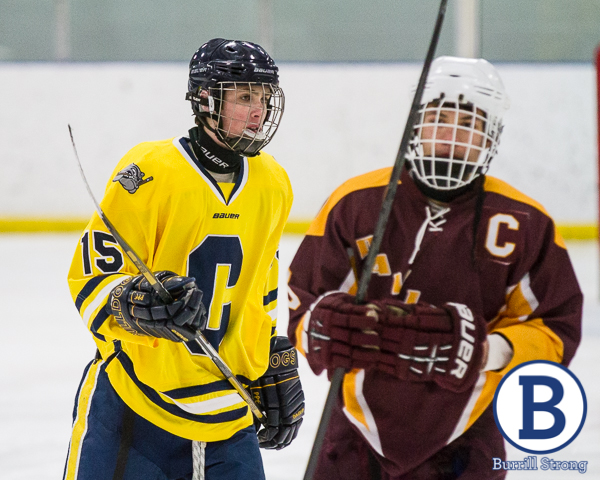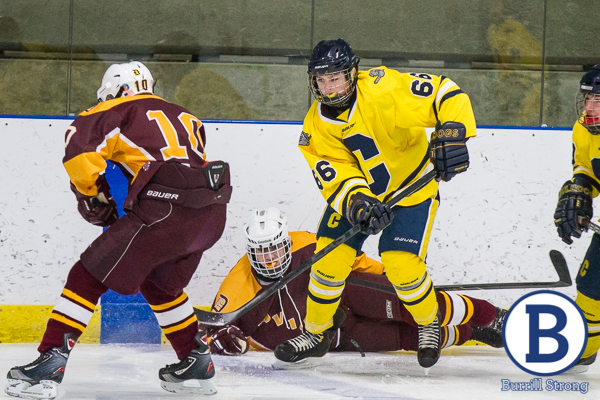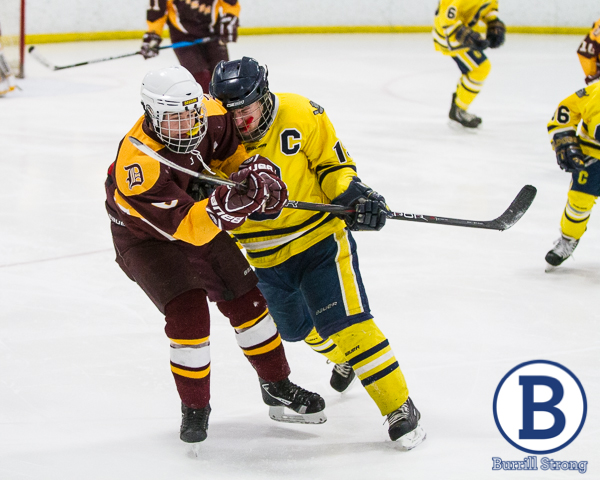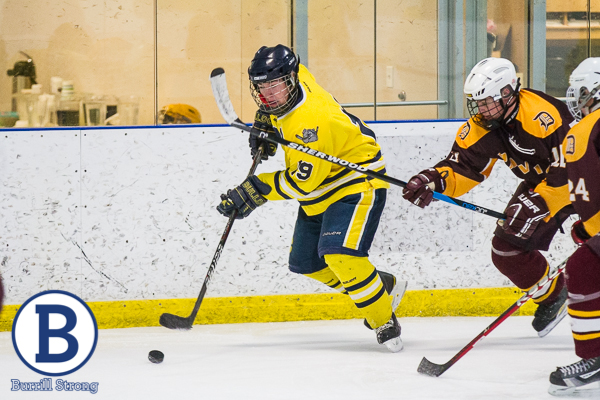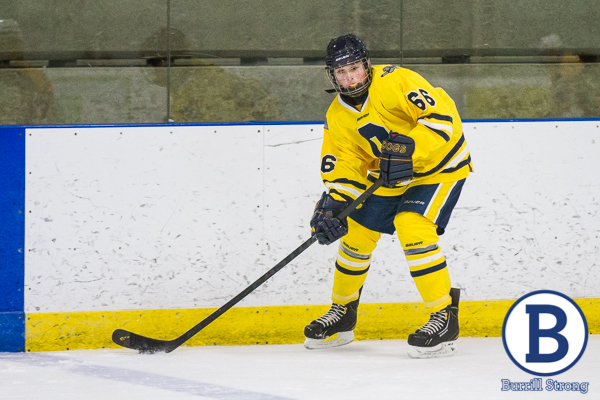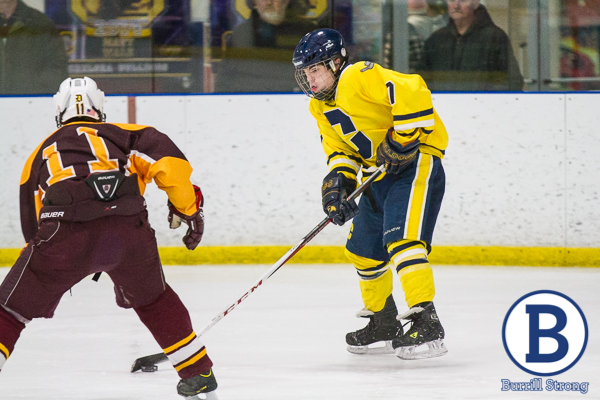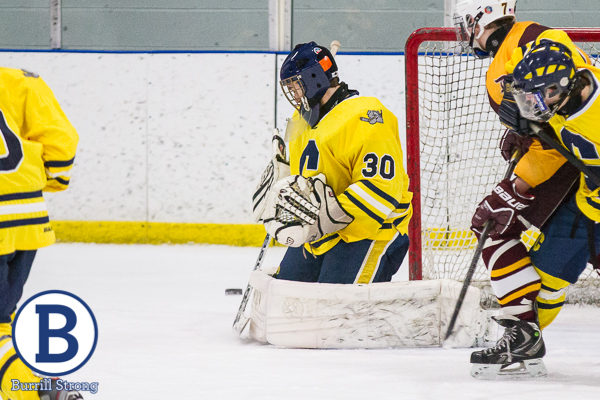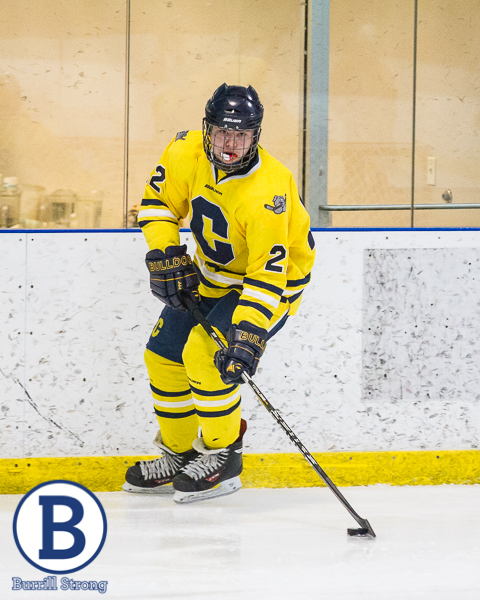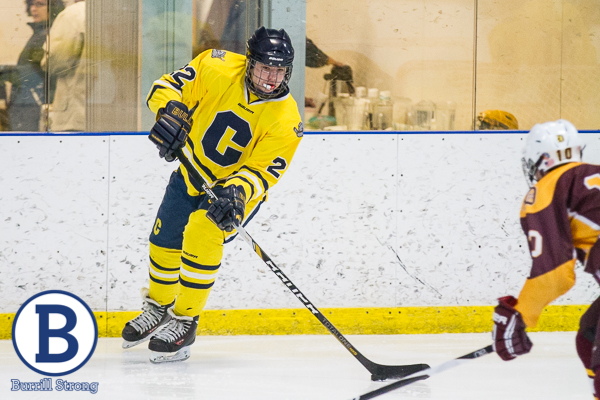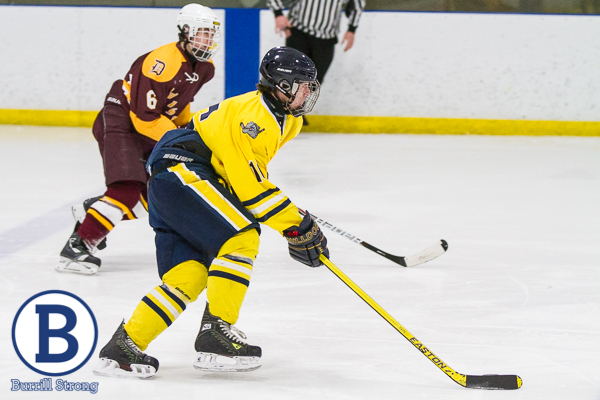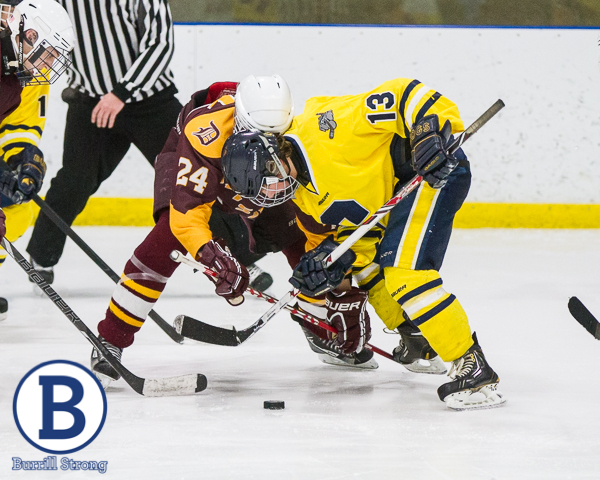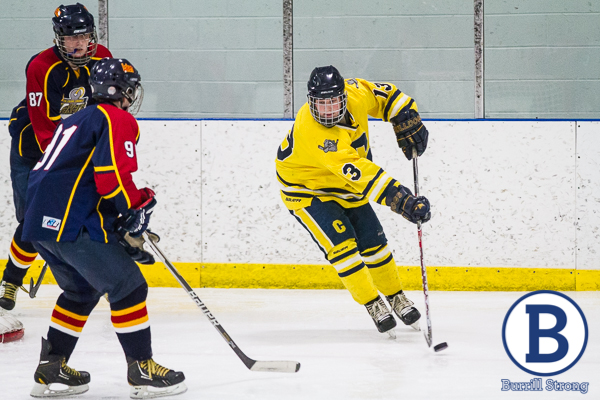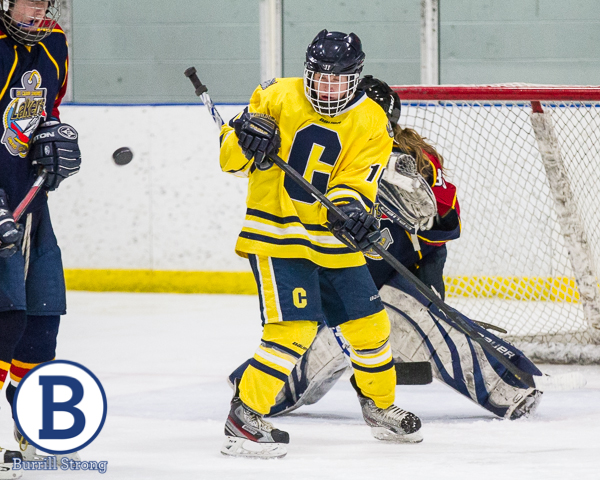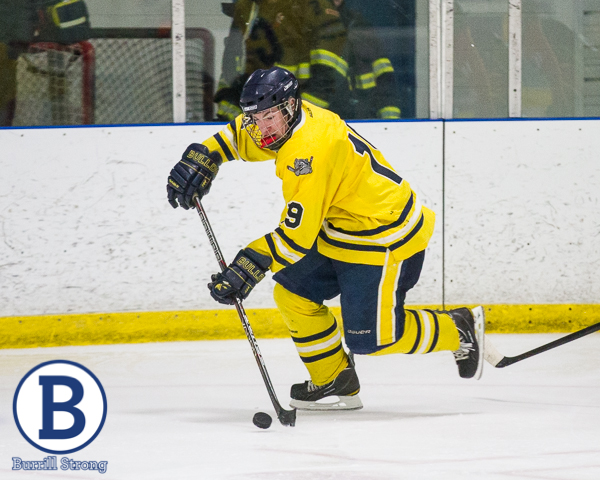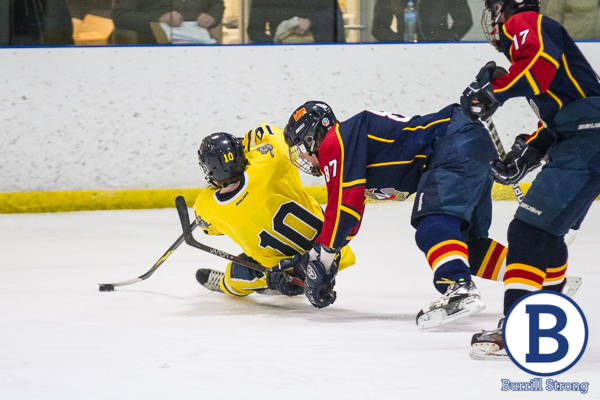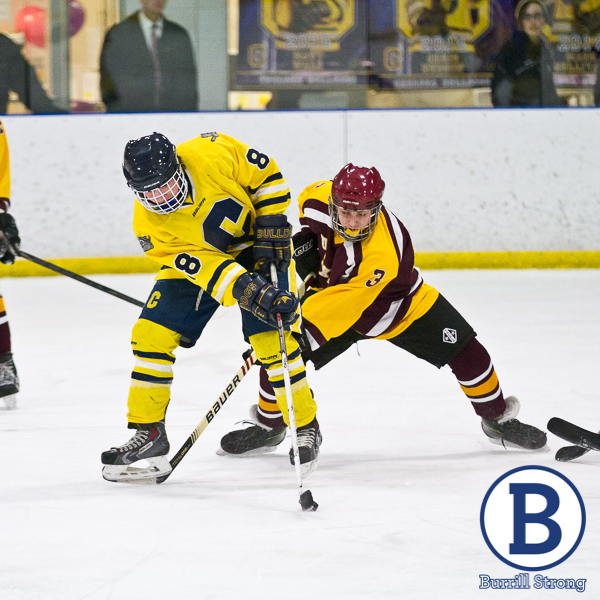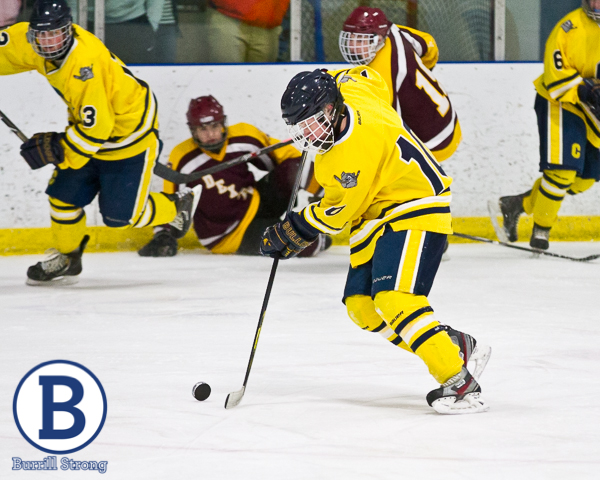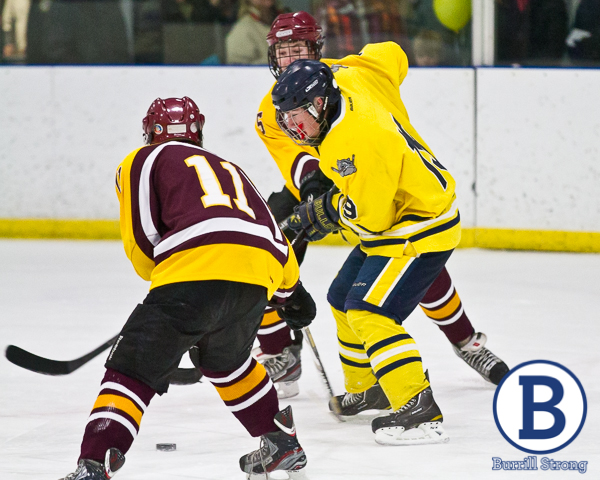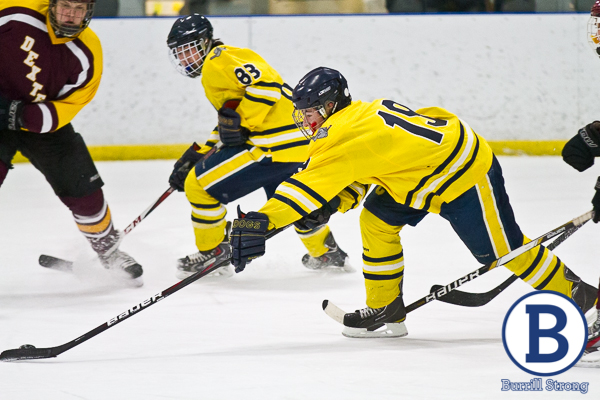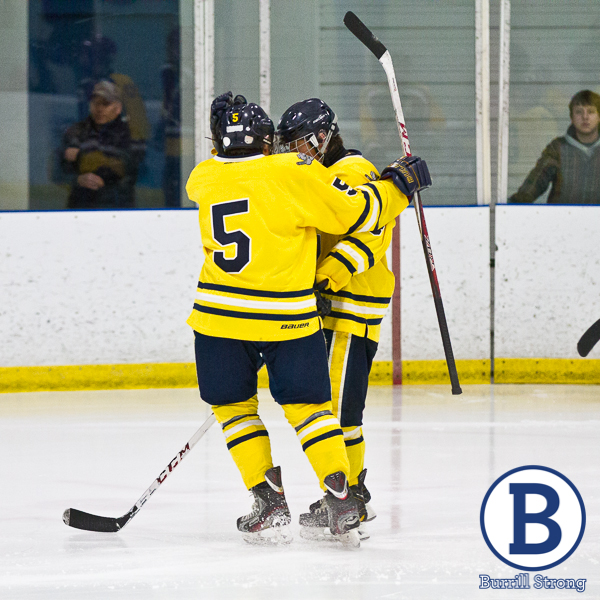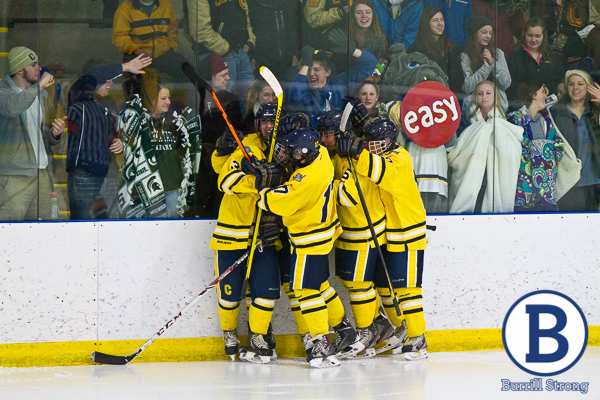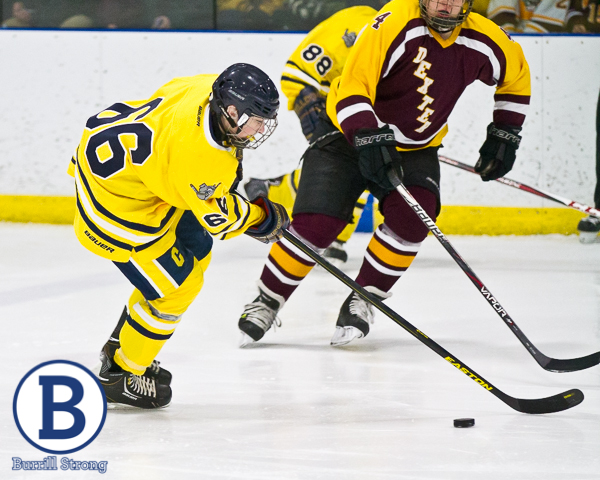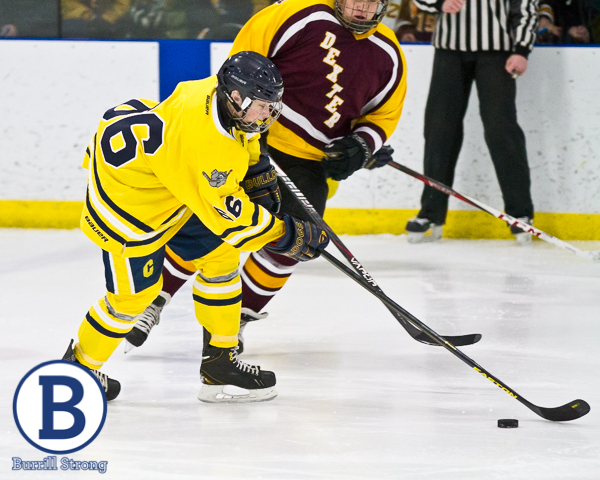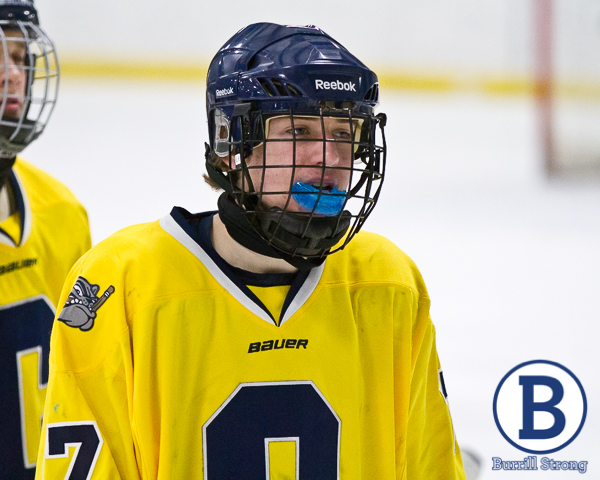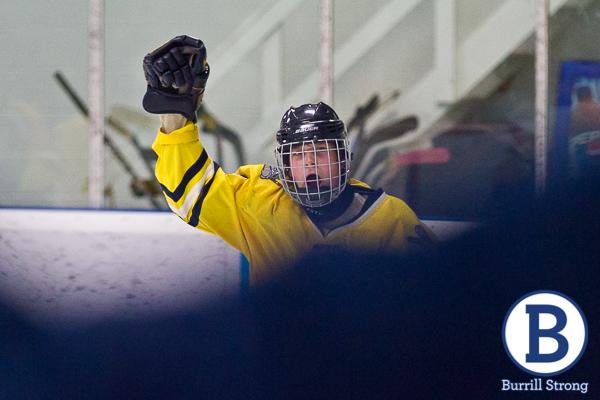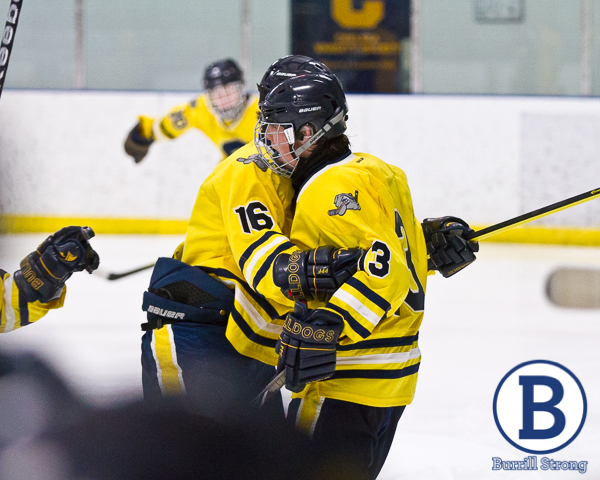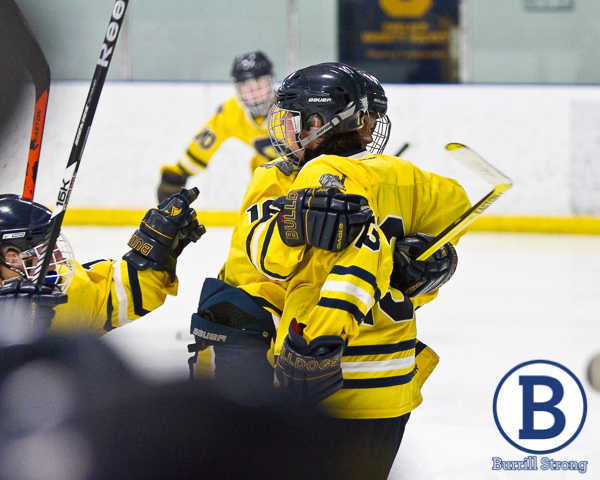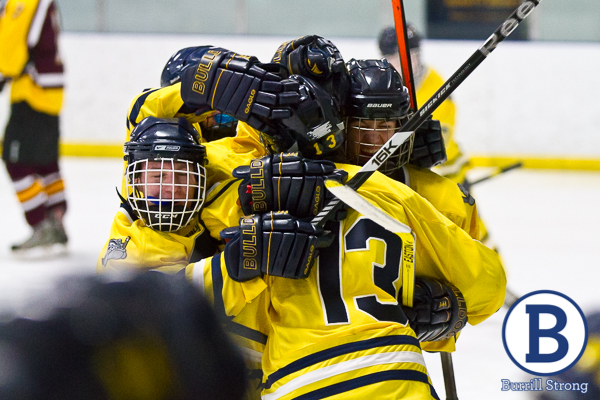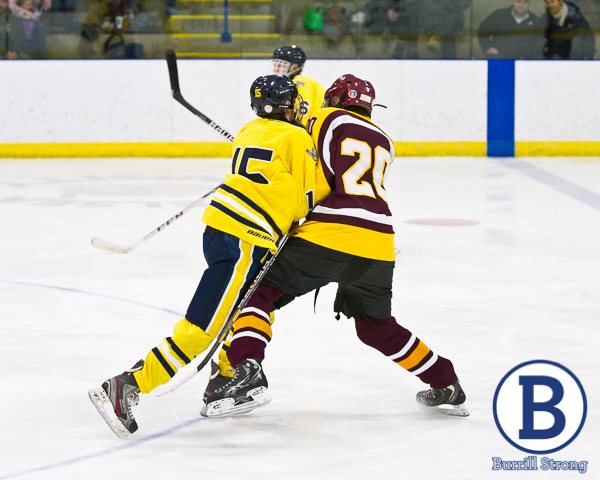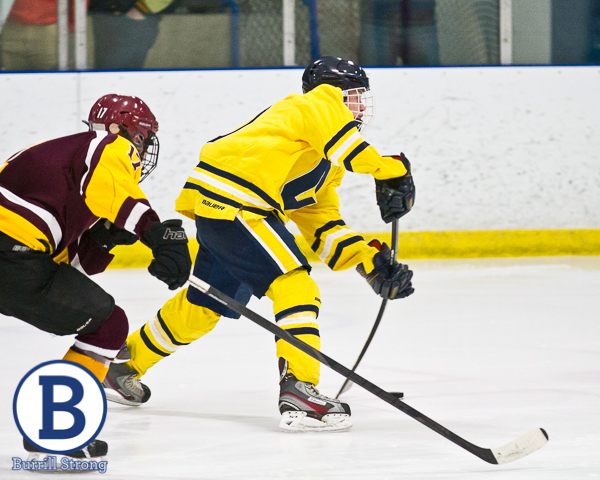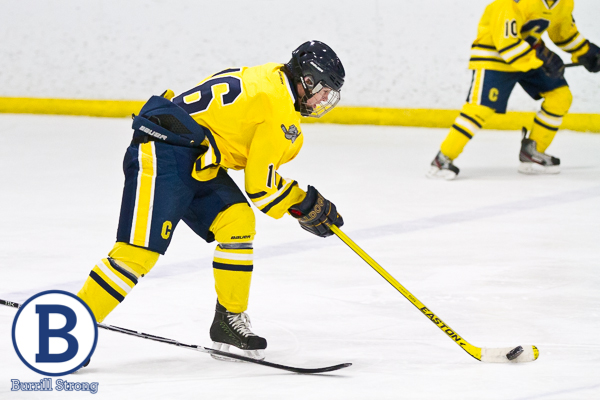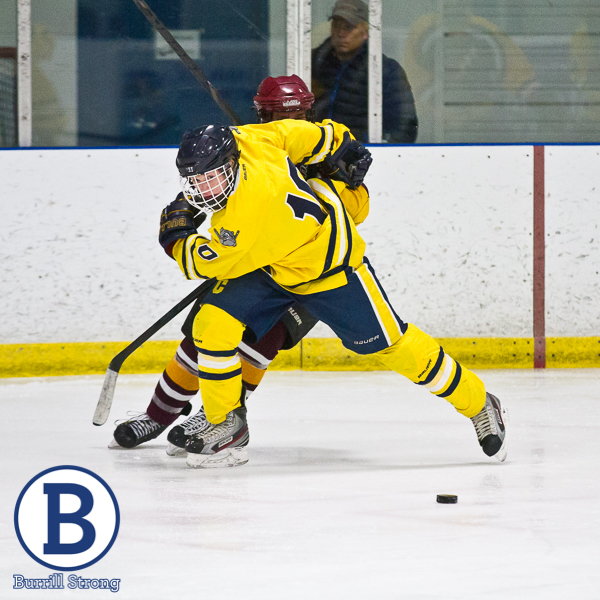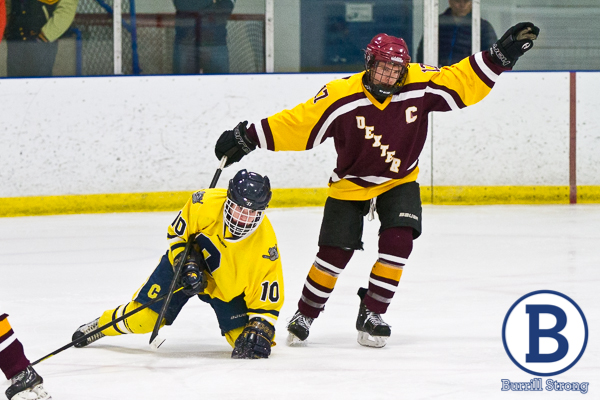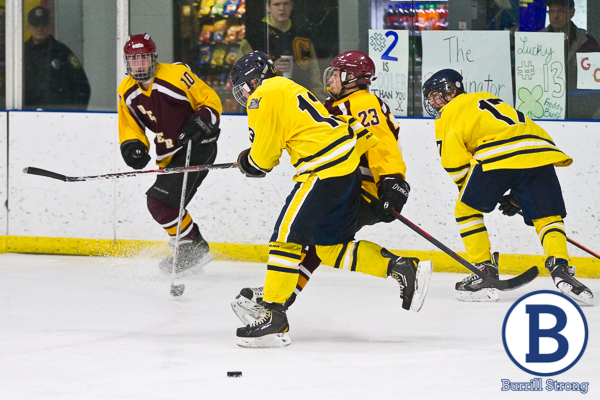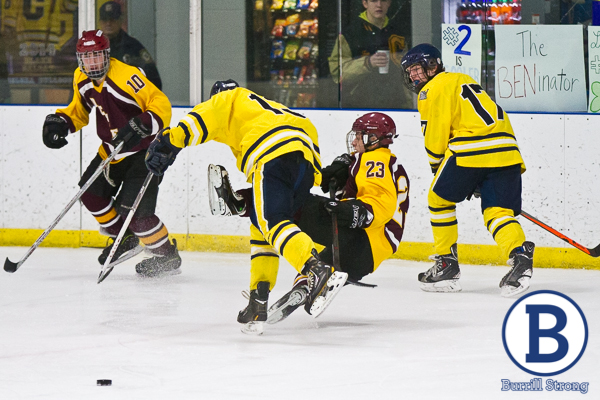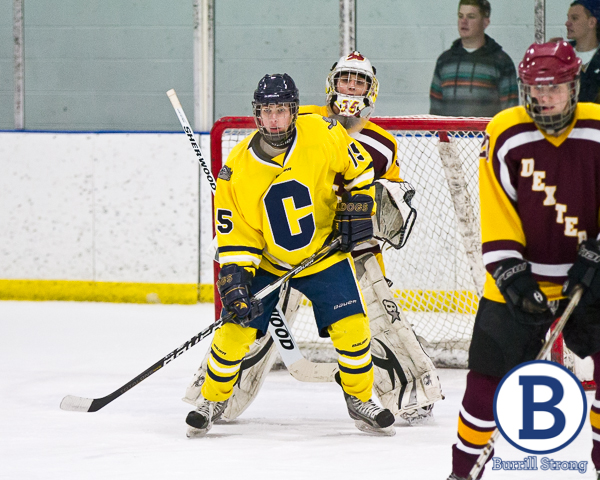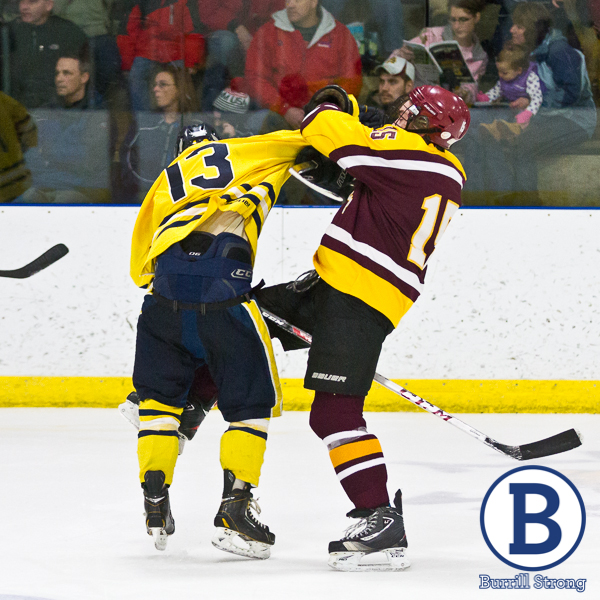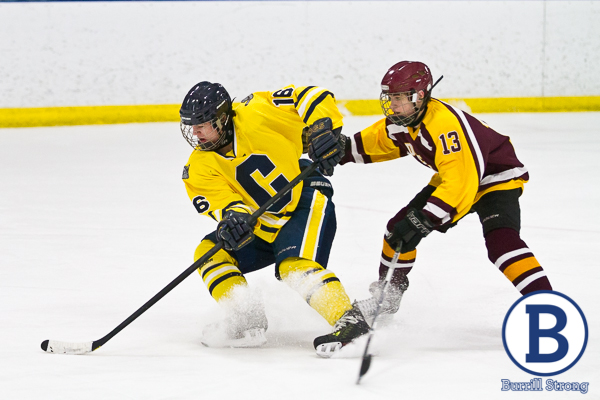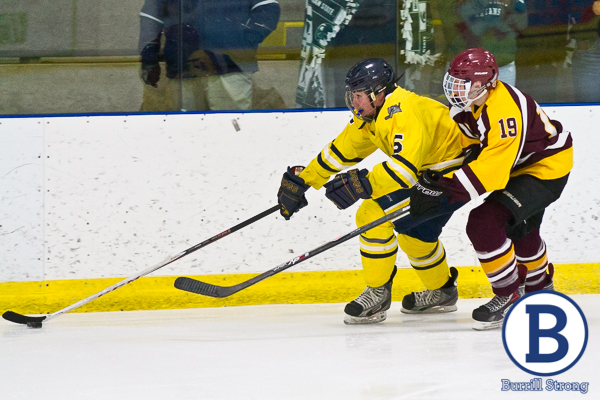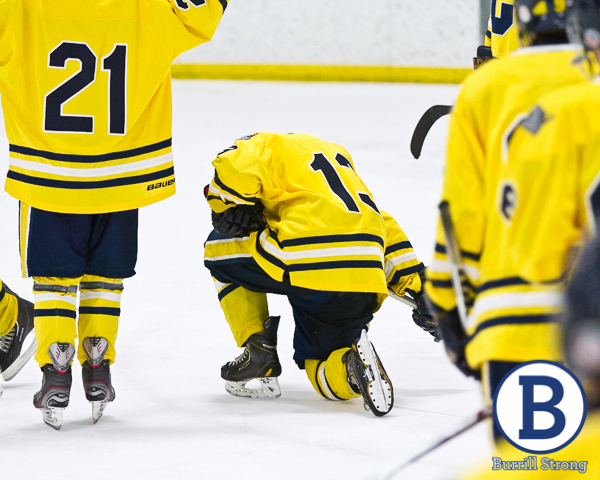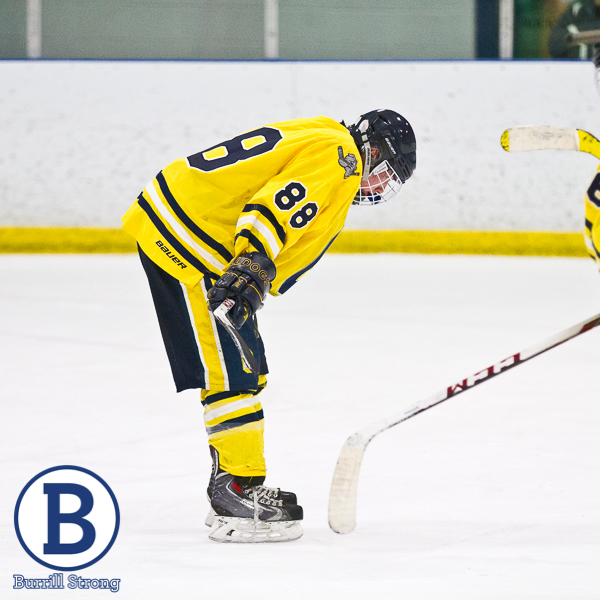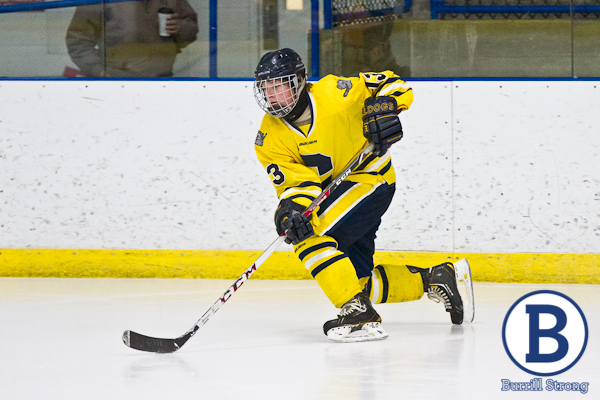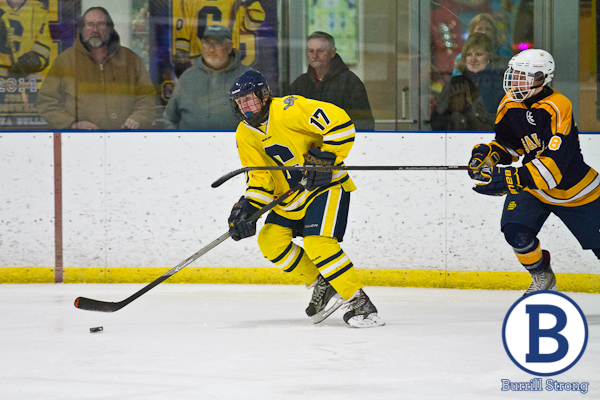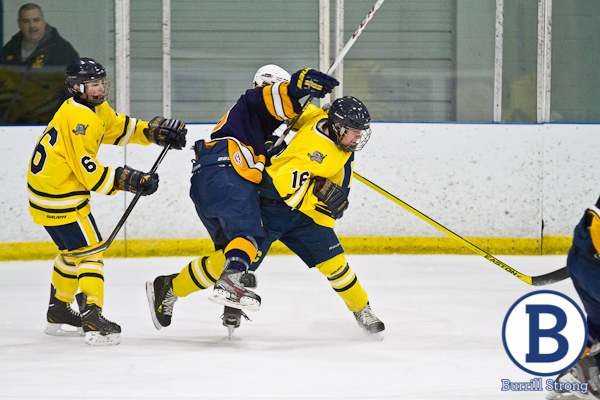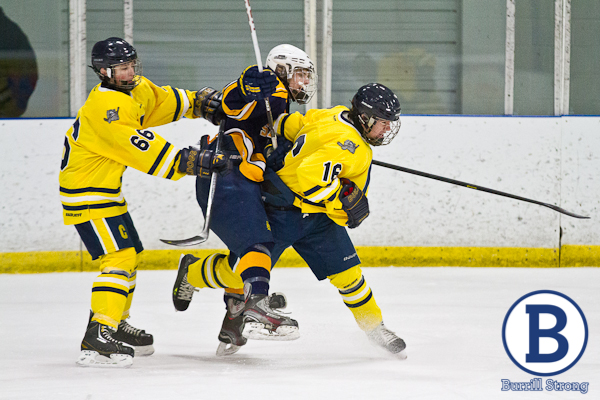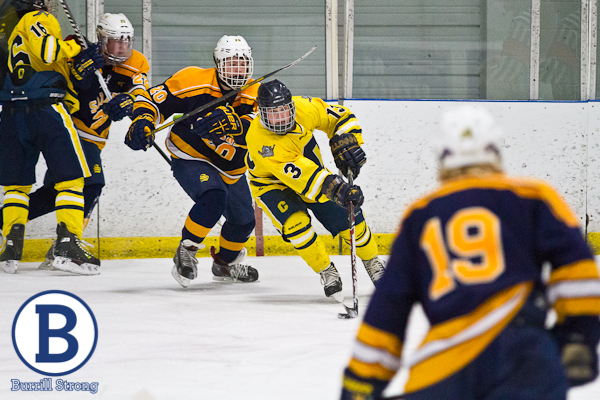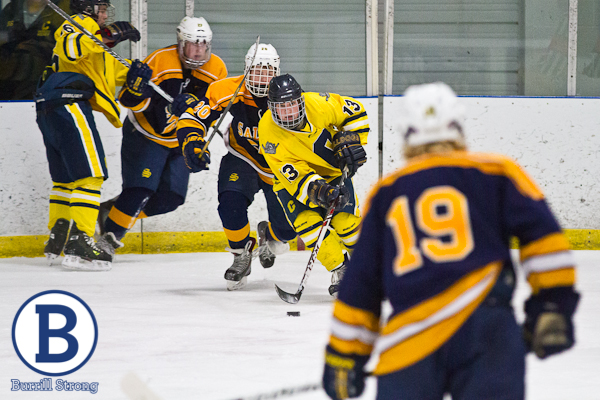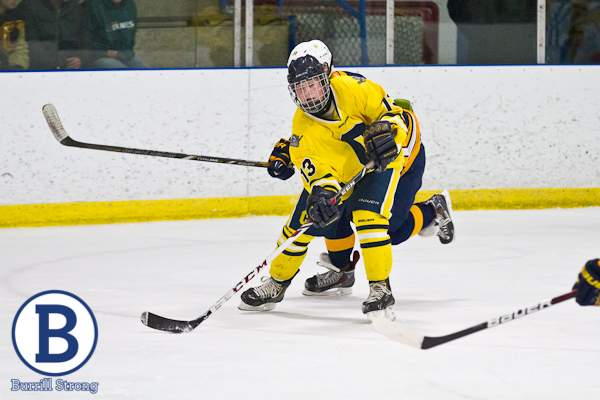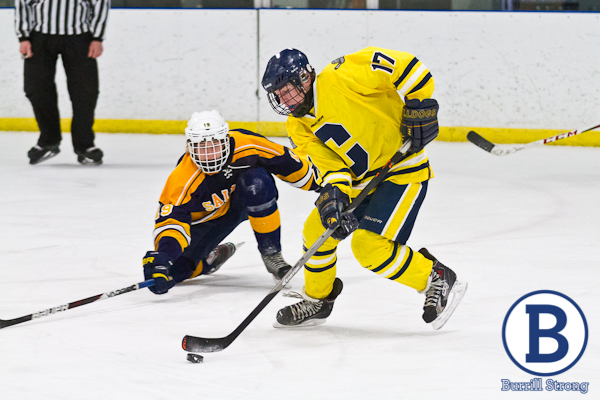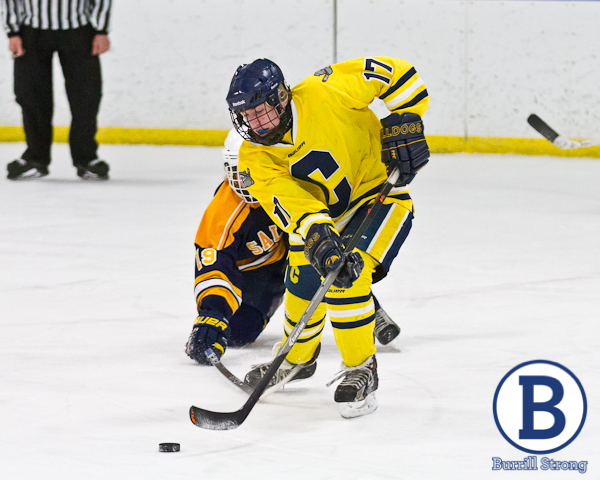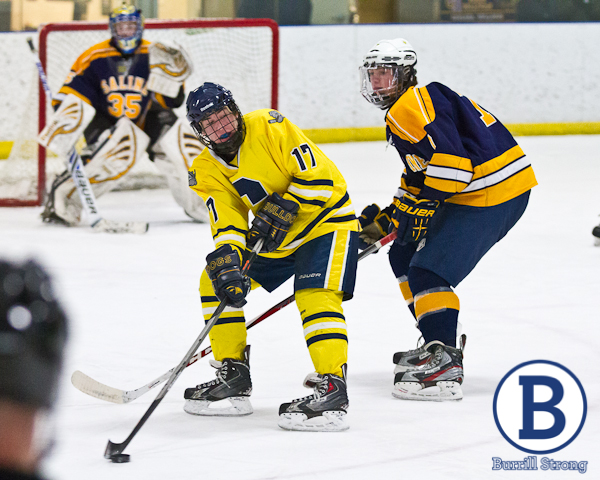
Here’s a look back at some of my favorite photos from 2017.
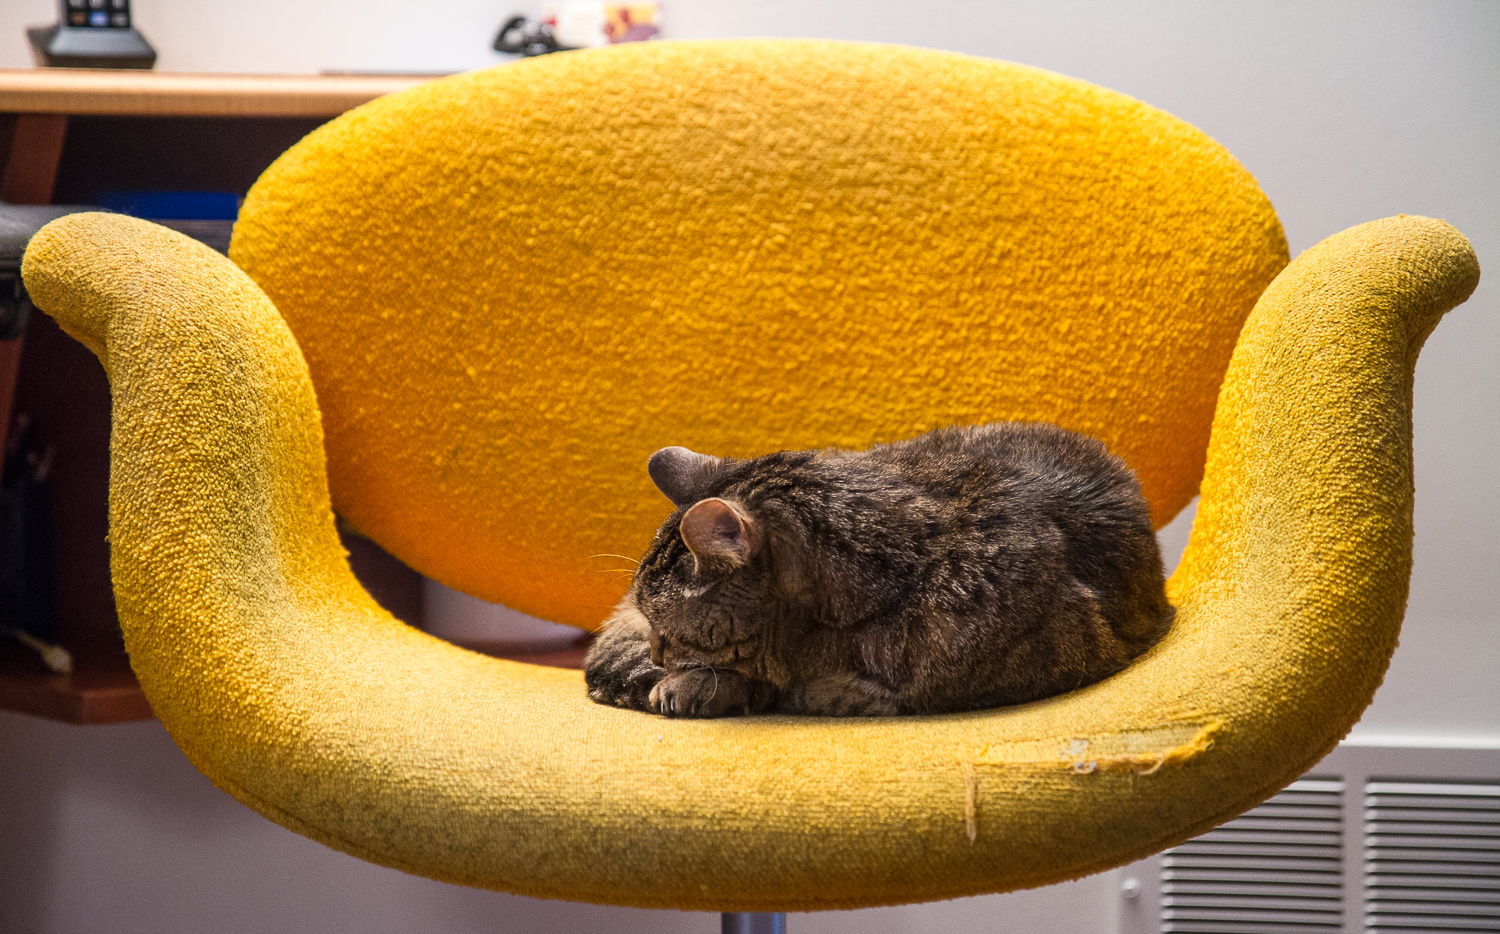
Catnap | 16 January
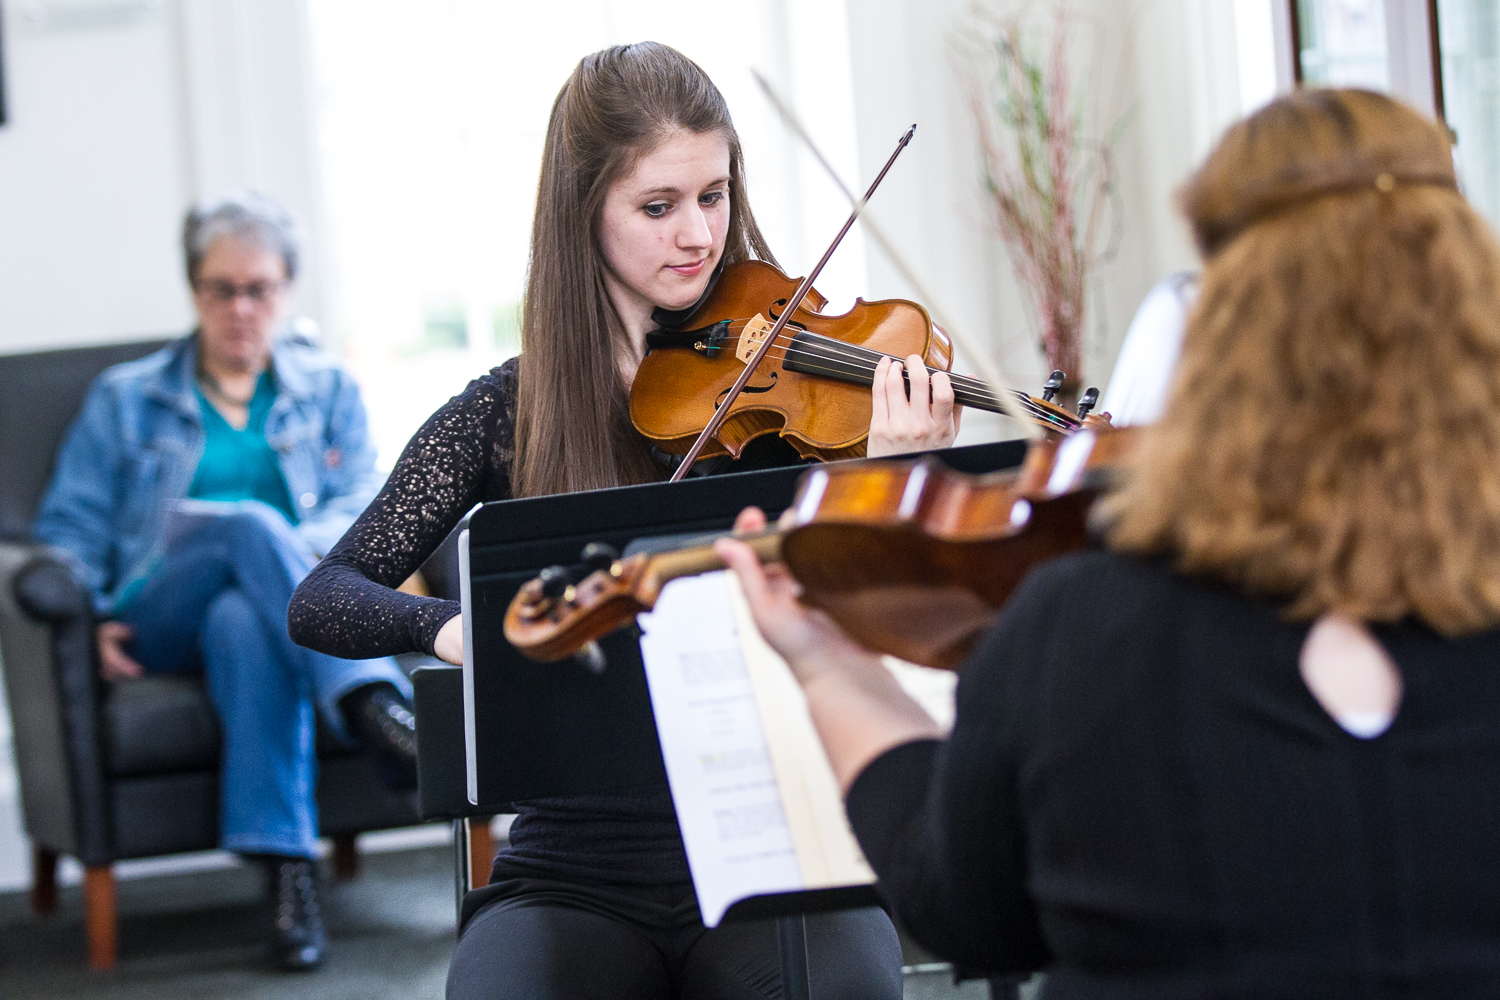
Sonic Sundays concert at the Chelsea District Library | 22 January
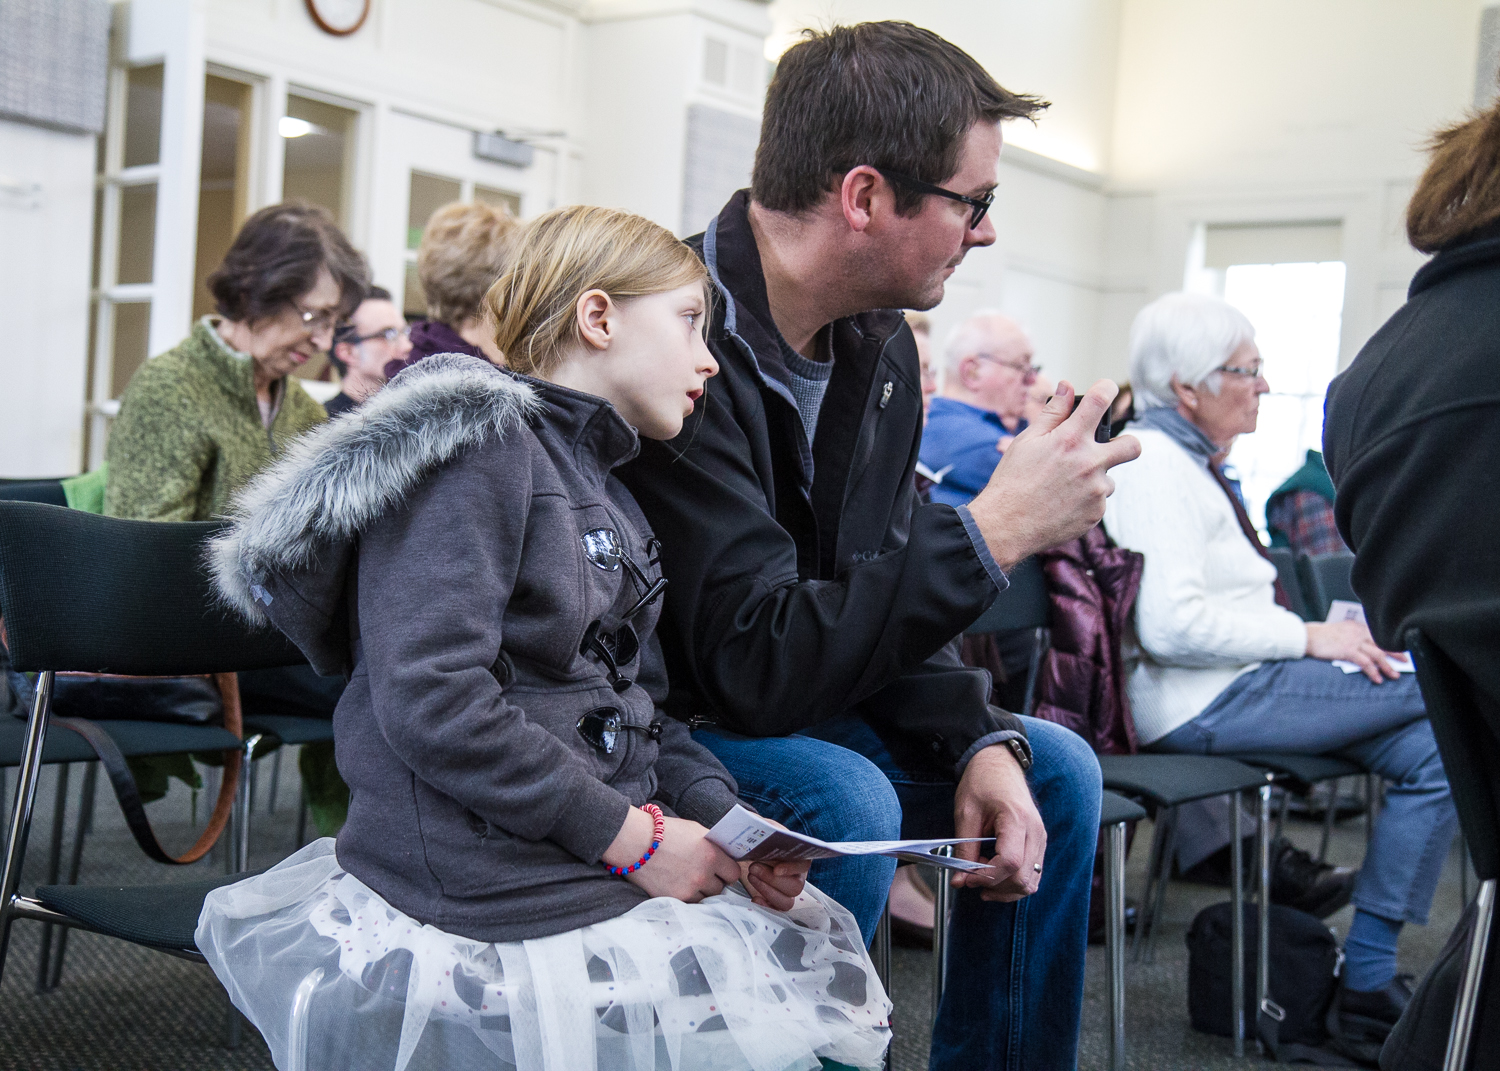
This young patron was engrossed in the music during the Sonic Sundays concert at the library | 22 January
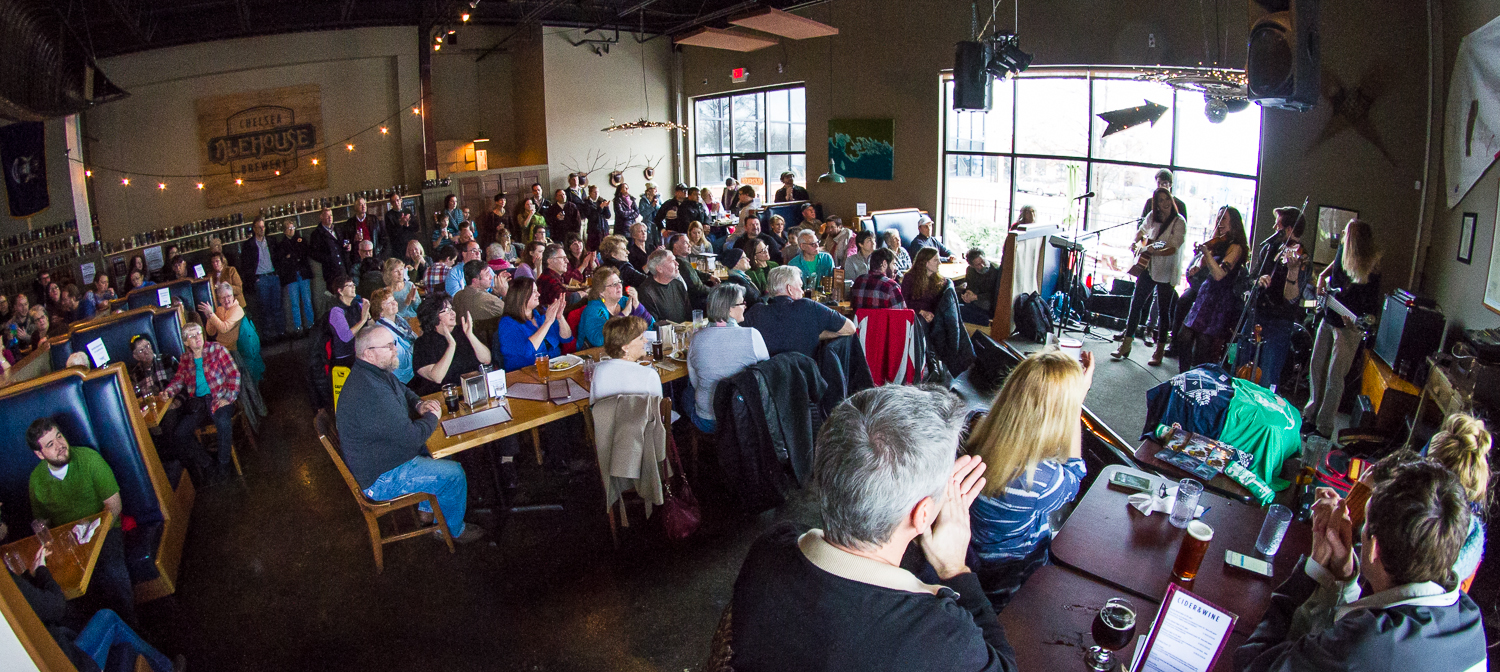
CrossBow packed the Chelsea Alehouse for another of the library’s Sonic Sundays concerts | 29 January
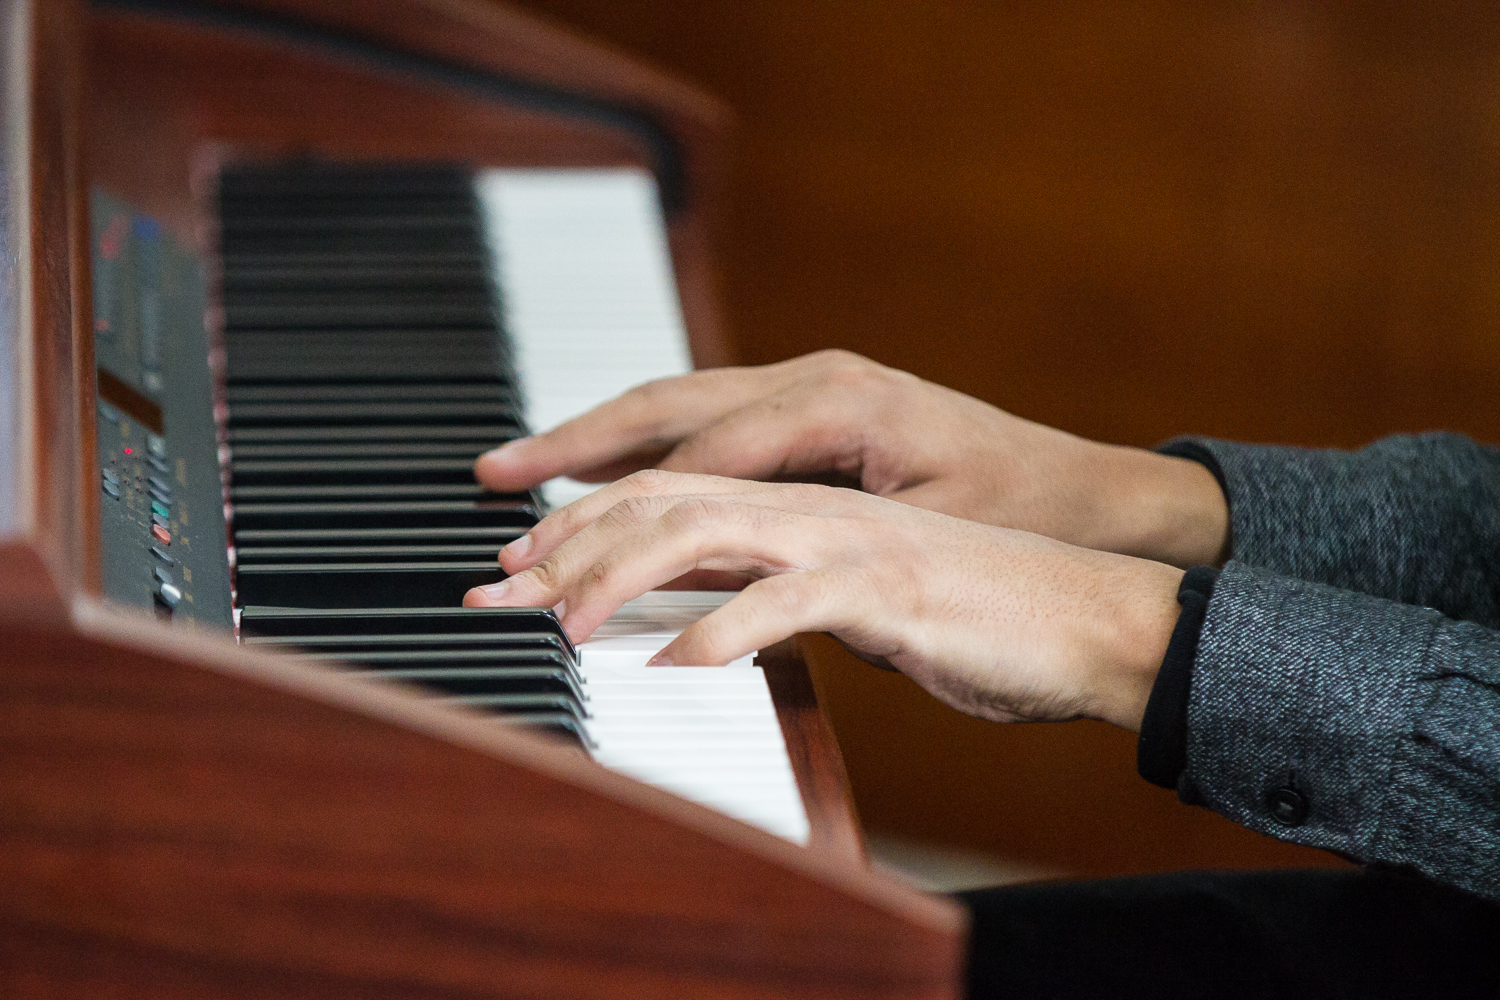
Another Sonic Sundays concert brought a jazz trio to the library | 5 February
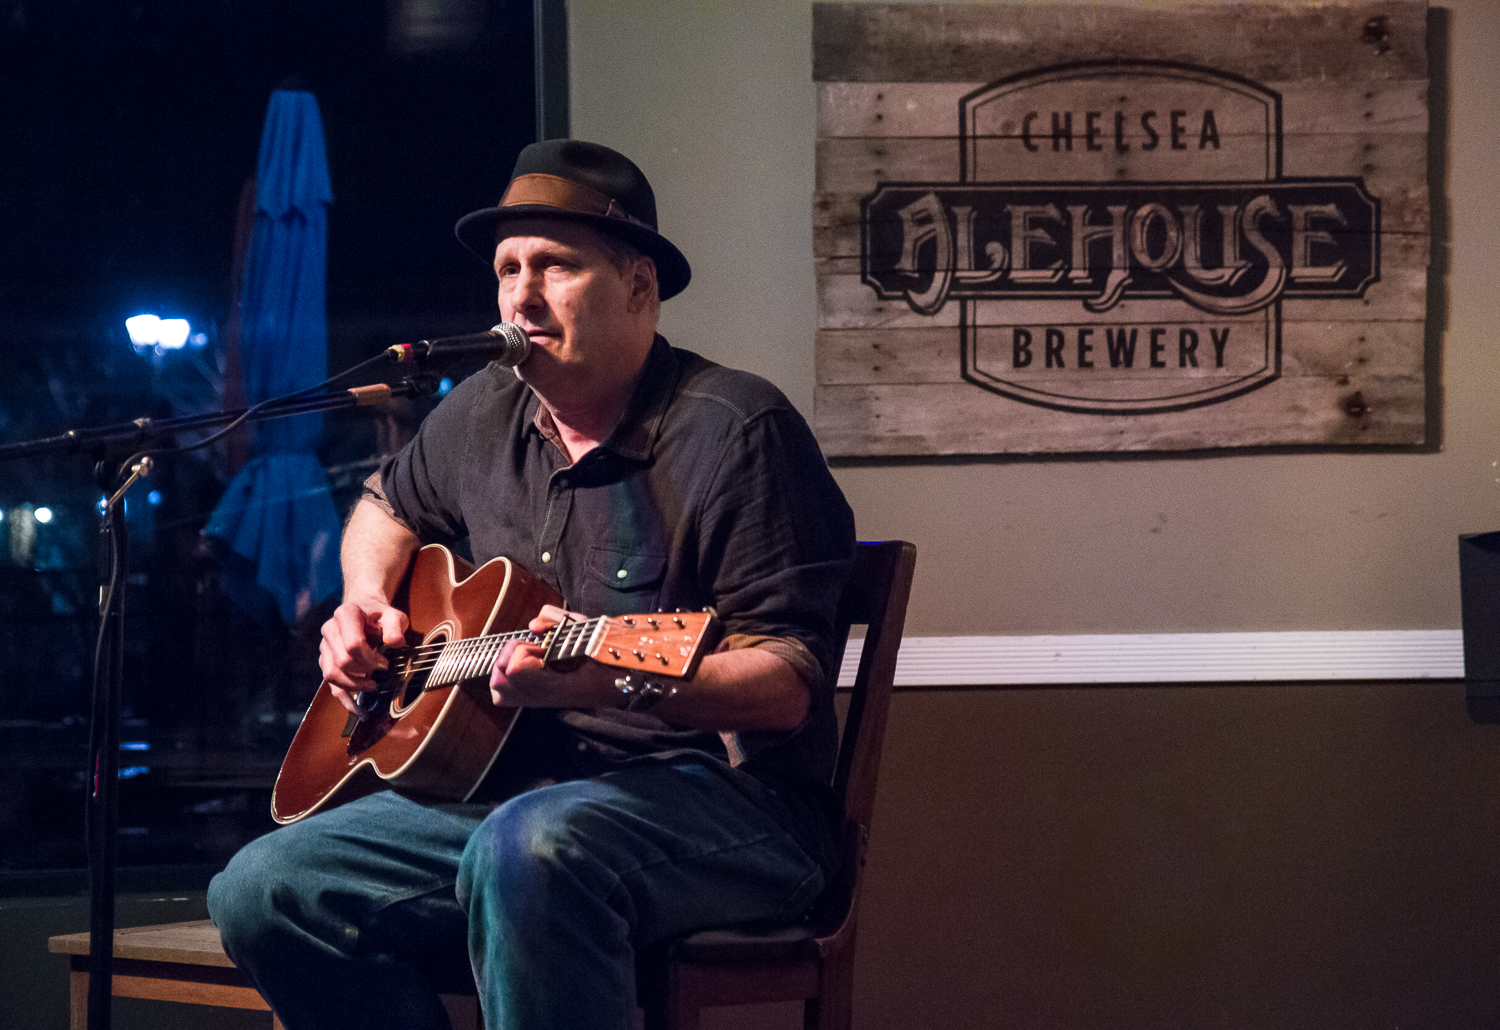
Jeff Daniels played a series of shows at the Chelsea Alehouse | 20 March
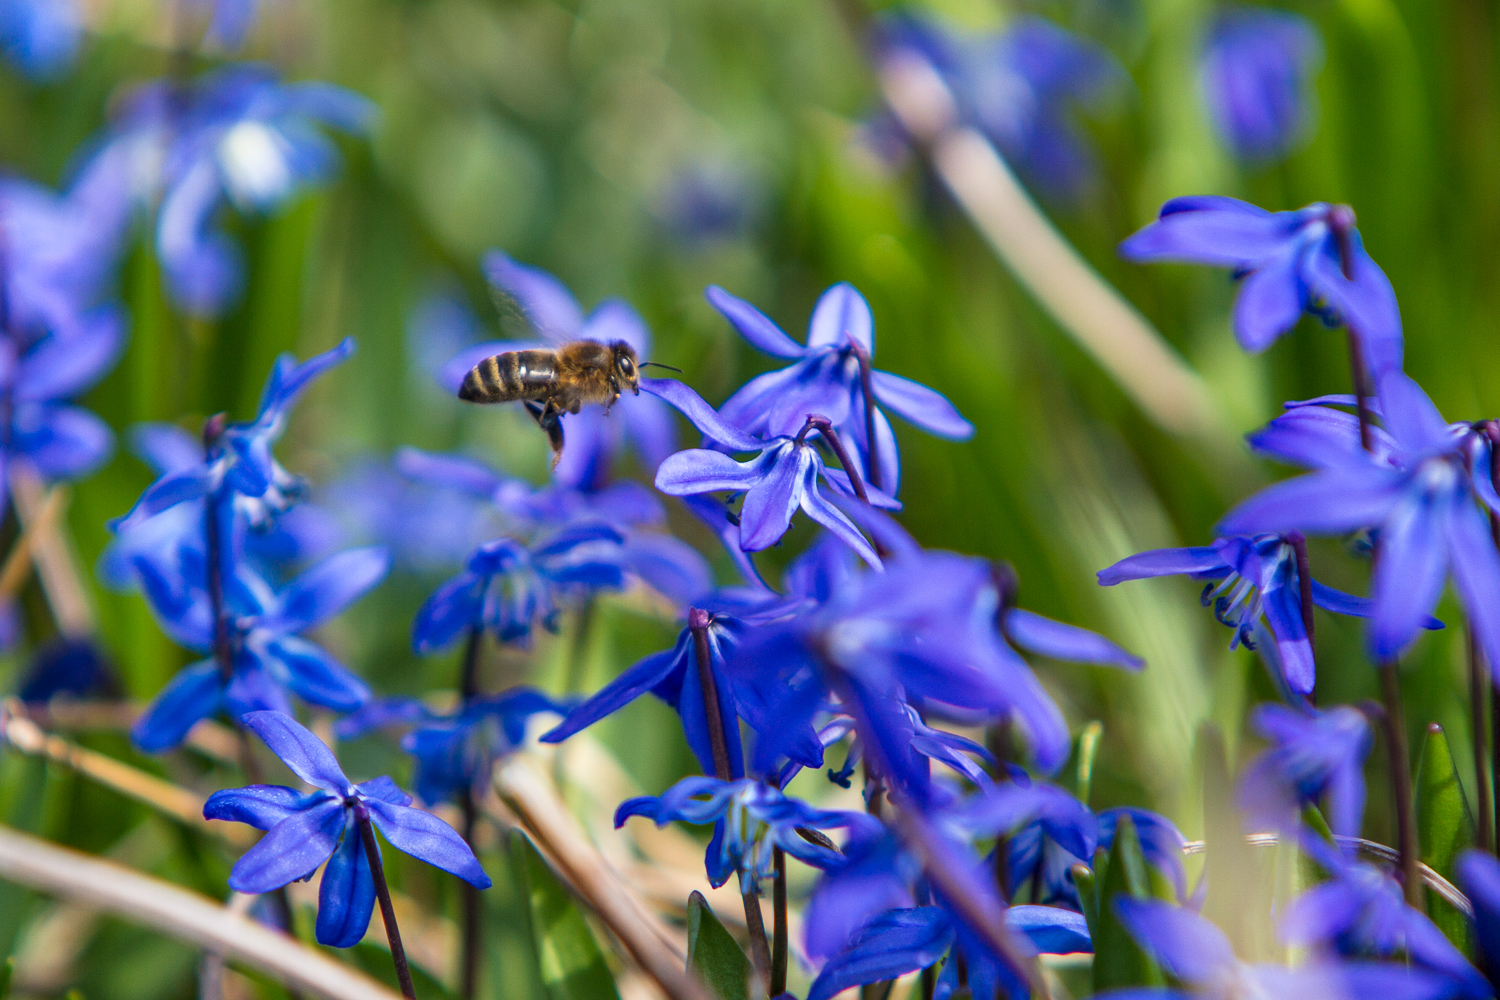
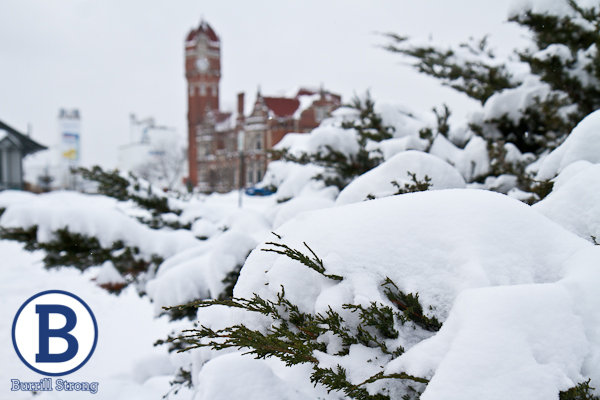
No matter how long winter seems, spring always arrives | 9 April Continue reading